A lot of you know me from myswag.org and may have already seen our camper trailer build thread but I thought a DIY thread on here would be a good idea so people can show us anything you may have built.
It doesn't necessarily need to relate to an Isuzu, its just a thread of interesting things we have built ourselves.
Ill kick it off with our camper build.......This was 2012
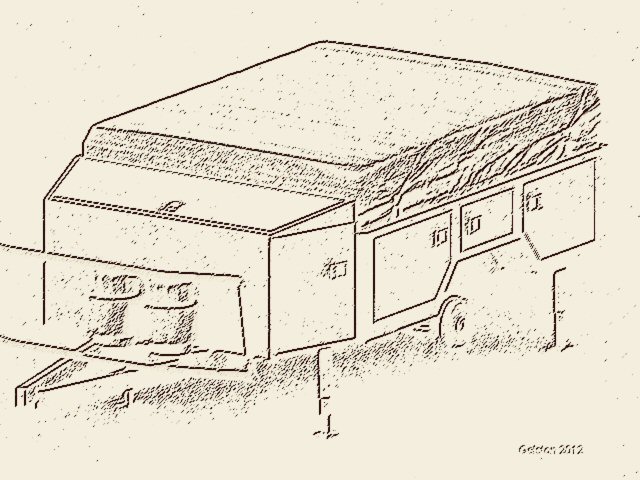
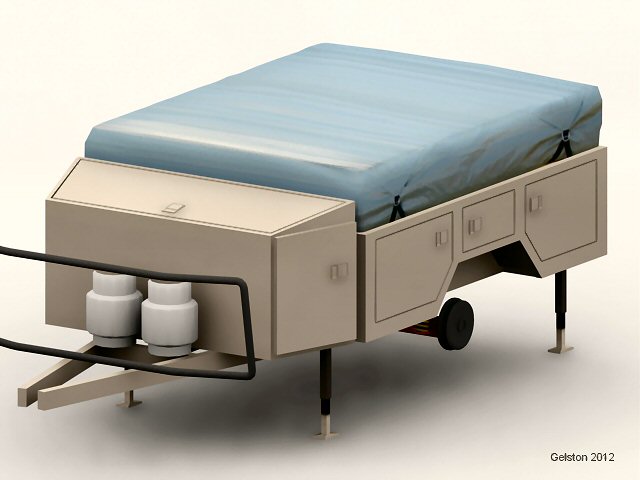
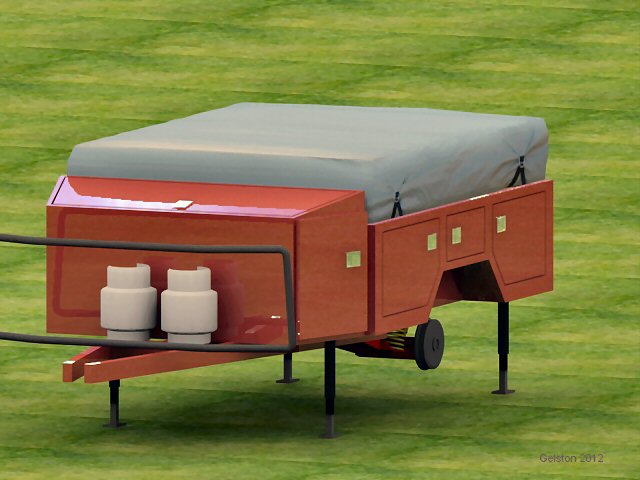
It started as a design concept, didnt really turn out exactly like the concept but you get the idea

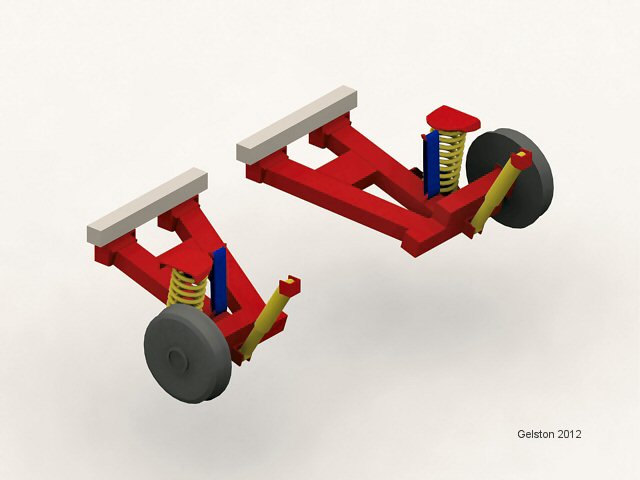
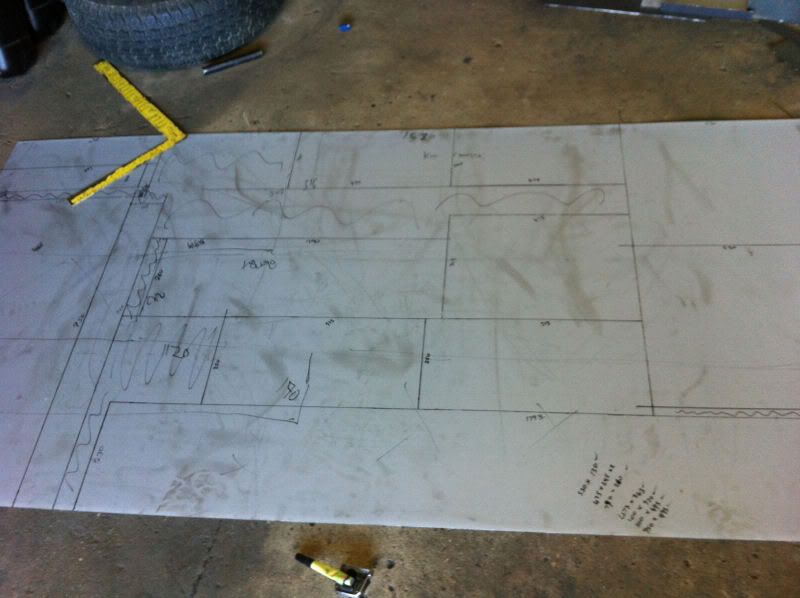
And then as usual with anything I build I like to design and test things in the virtual world first, it saves on steel and heart ache later
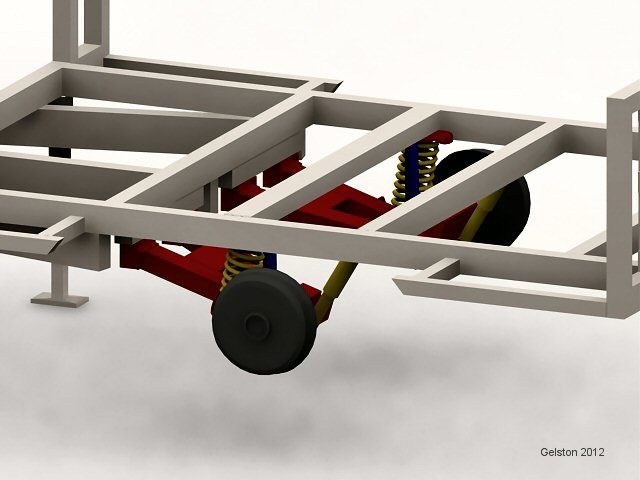

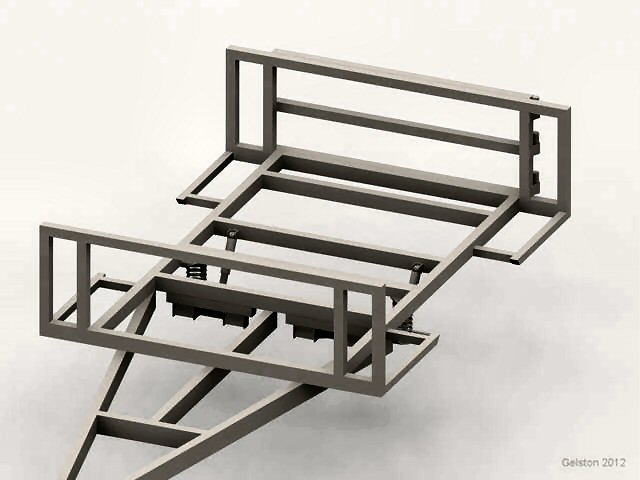
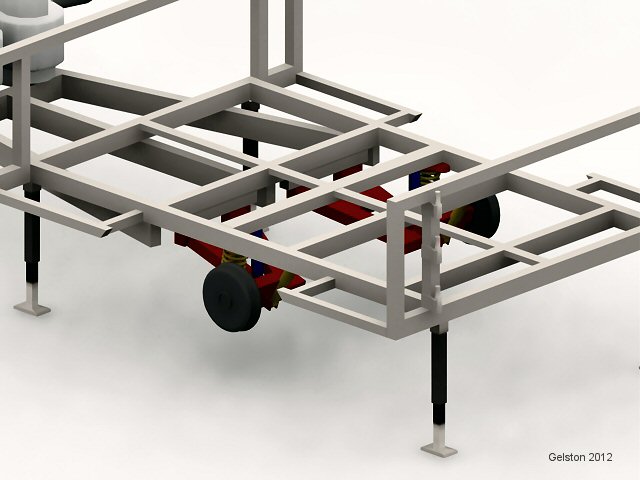
I think its fair to say even the virtual designs are subject to change and in my case they were changed quite a bit after going to the camping show and seeing what I wanted. I didnt bother to make the changes virtually because I completed the cutting lists and designs on paper....its easier to have out in the shed with me!
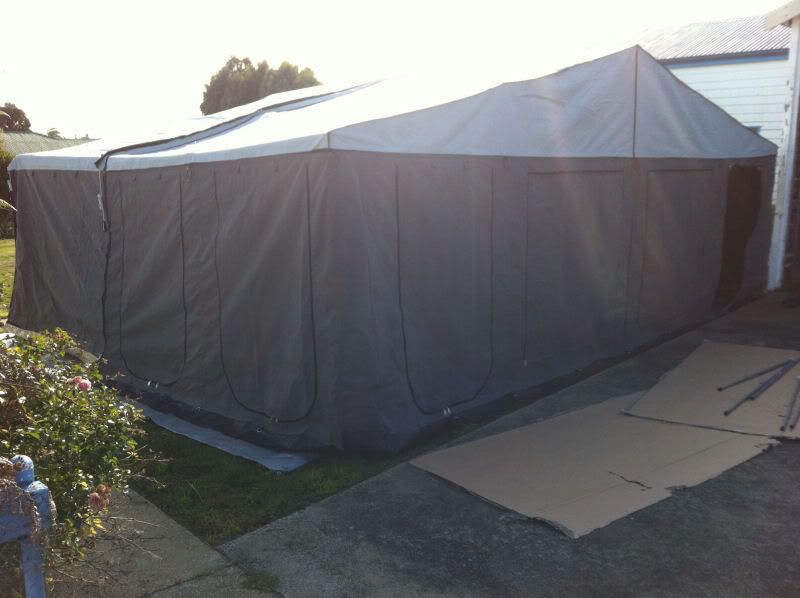
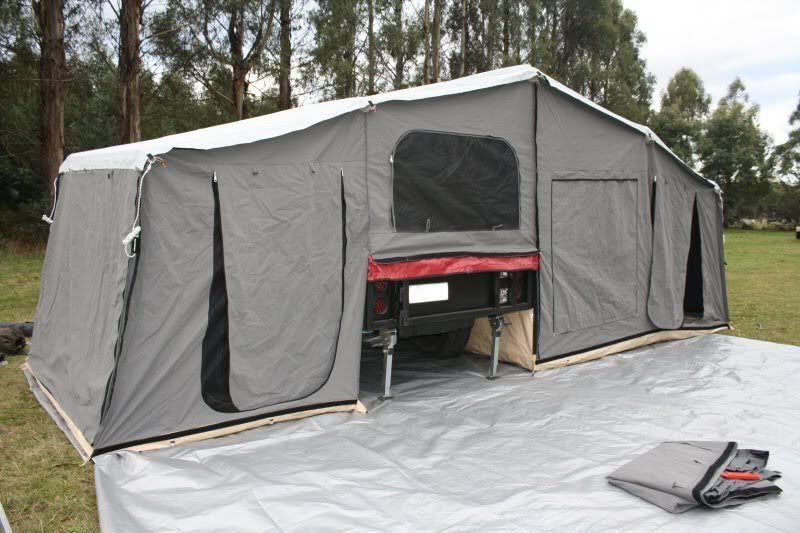
The day I picked the tent up.....excitement plus

Set up at home so I could take all the vital measurements to build the trailer
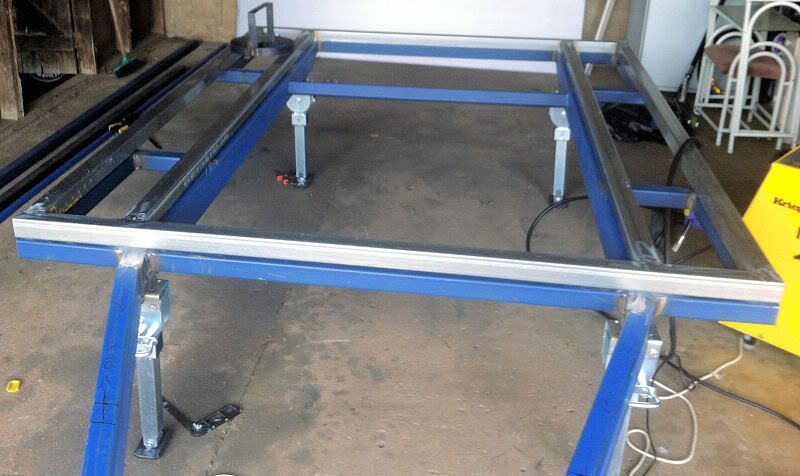
The trailer like all trailers, started life as a pile of steel on the floor.
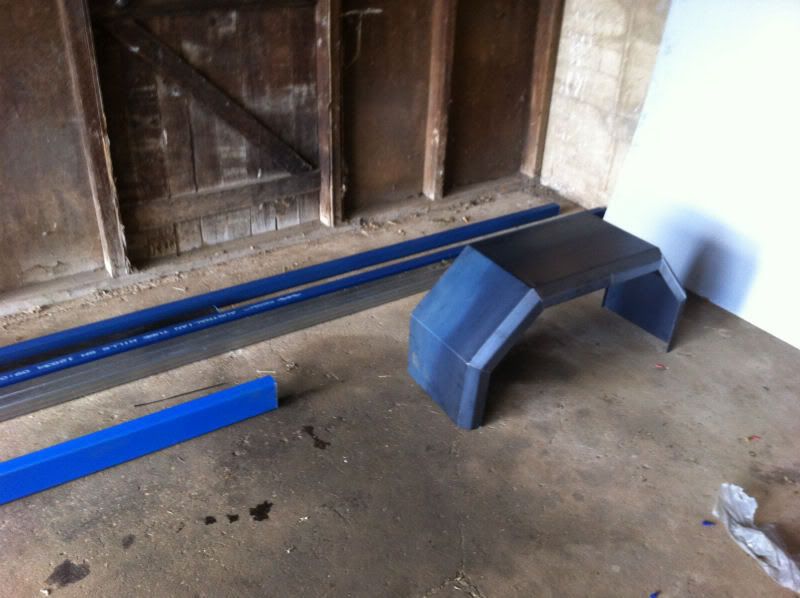
The draw bar and chassis is all one piece, I had rollfab in Hobart roll the steel into shape for me. He didnt do it exactly to my drawings but I let him off and worked with it anyway.
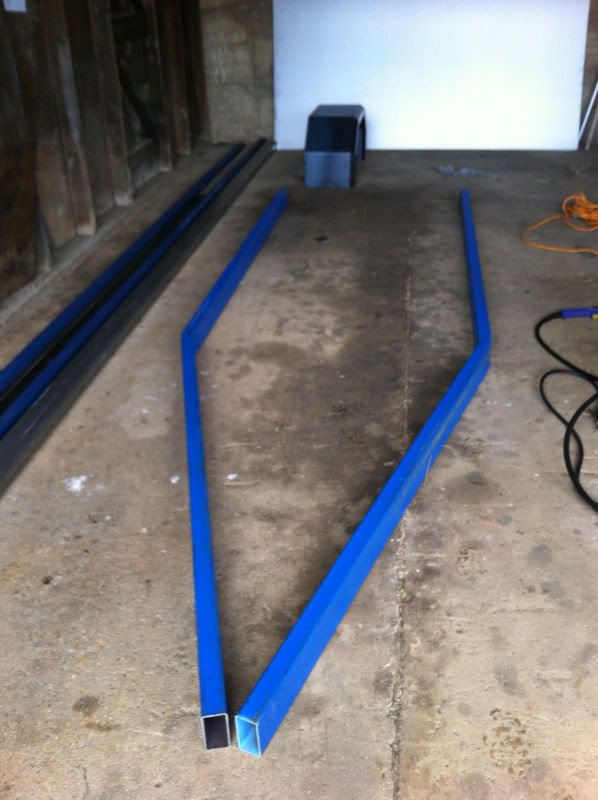
And not long after it started to take shape. All pretty simple stuff really.
I tend to over engineer at times but I was concerned about a slight kink in the steel where the metal roller rolled my chassis/drawbar shape so I put a nice sized gusset in that area.
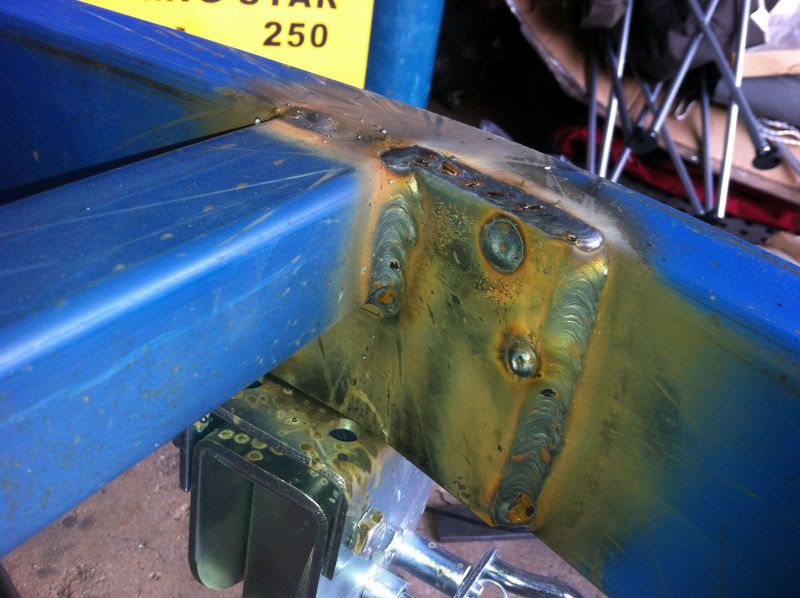
I should mention the main section is 100x50x3 with the rest being 50x50x3 all blue steel except all the top section or any other non structural area was made with 50x50x1.6 gal.
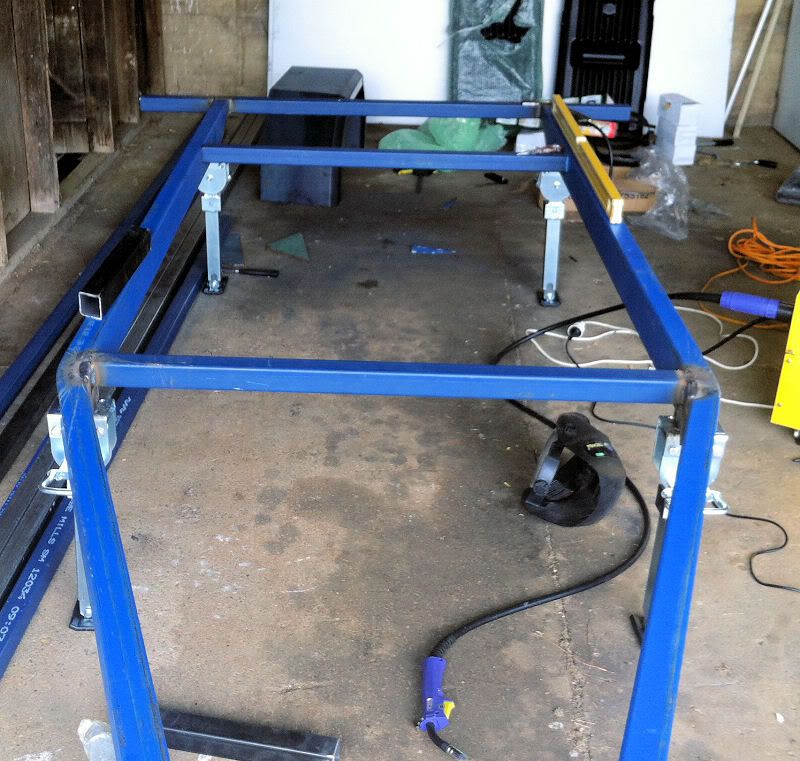
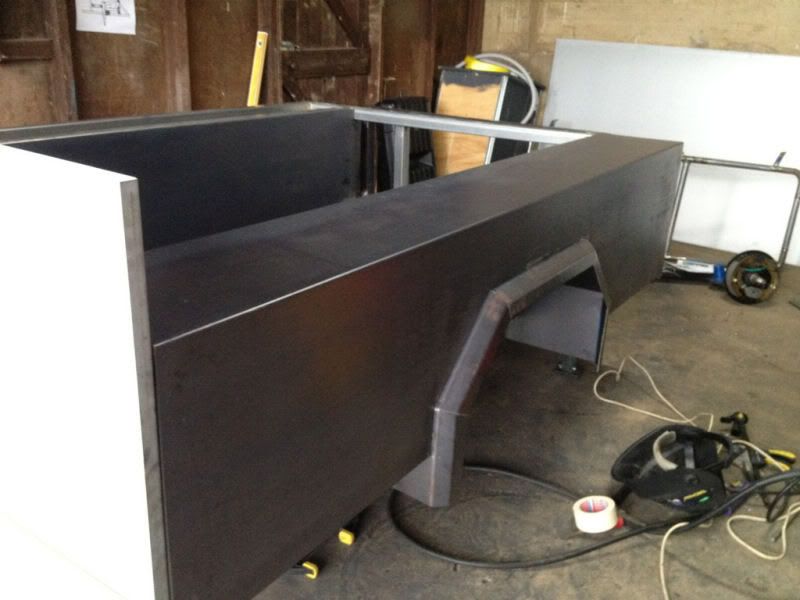
Now it is starting to look like a CT!
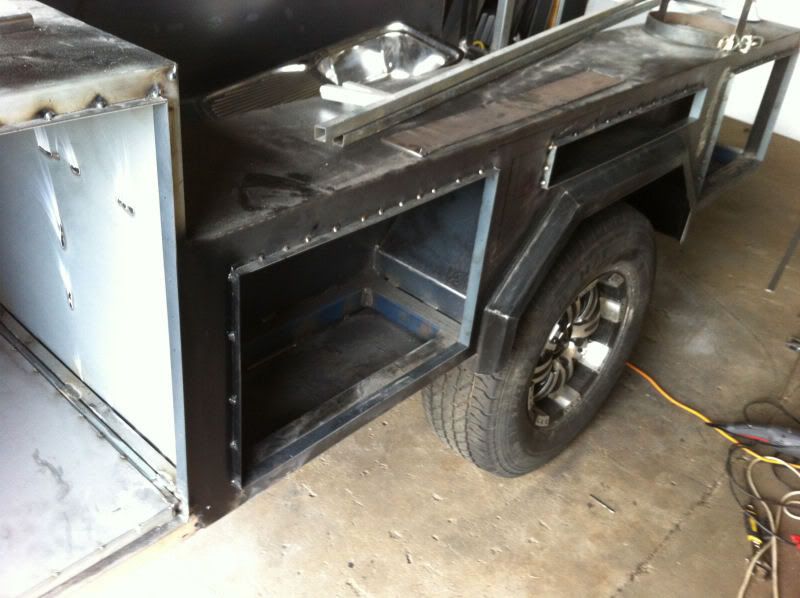
Sheet metal time.....I should mention we have a milling machine, several lathes and a couple of sheet metal folders at work
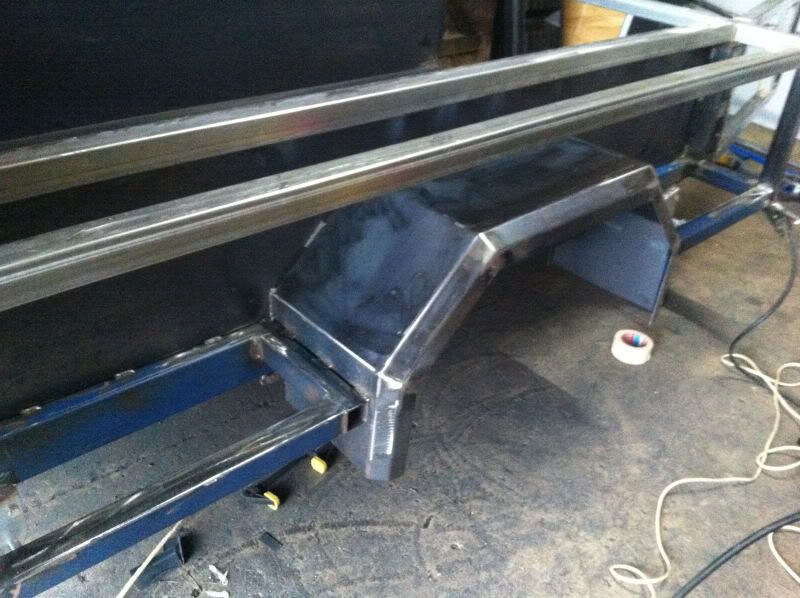
Before the boxes were cut out
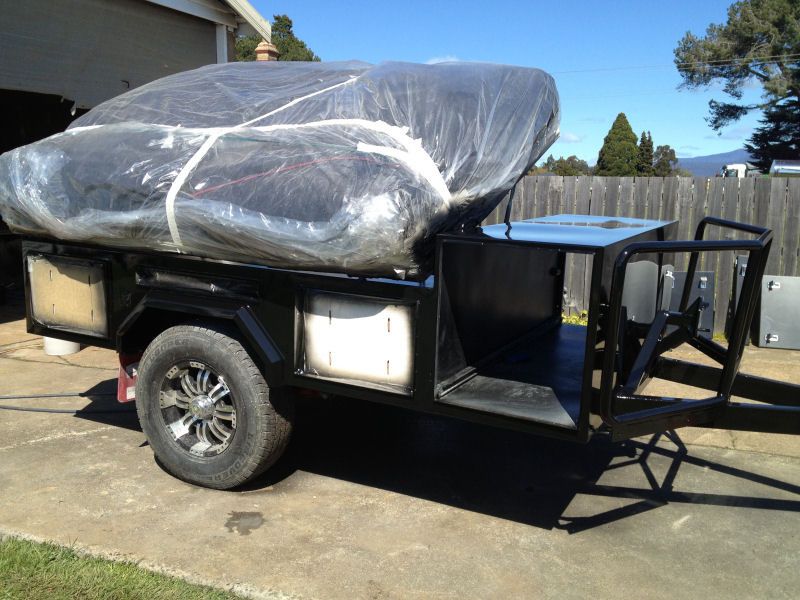
Test fit lol The fridge has a place inside the kitchen when the tent is set up also. It is on a slide in this front box where it stays for quick overnight stops, like wise there is another large slide out box opposite the fridge here
Cutting things out and tacking on weather strip holders
Starting to sikaflex the seems I think
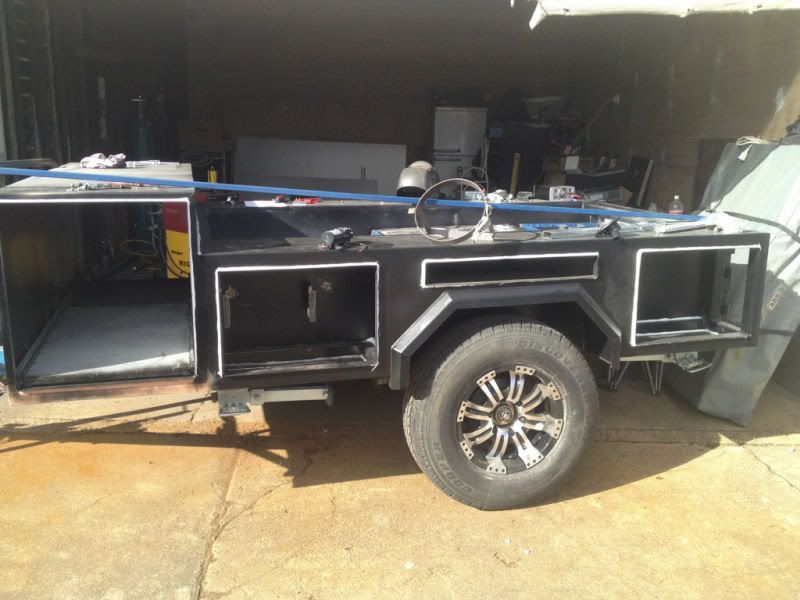
Trying to make 14 different lids, shelves etc fit onto 2 sheets of steel!
It was about now I started on the box lids. They are folded up with 1.6mm steel using flash chromed brass hinges and double locks.

Messy shed is a sign of lots of work happening
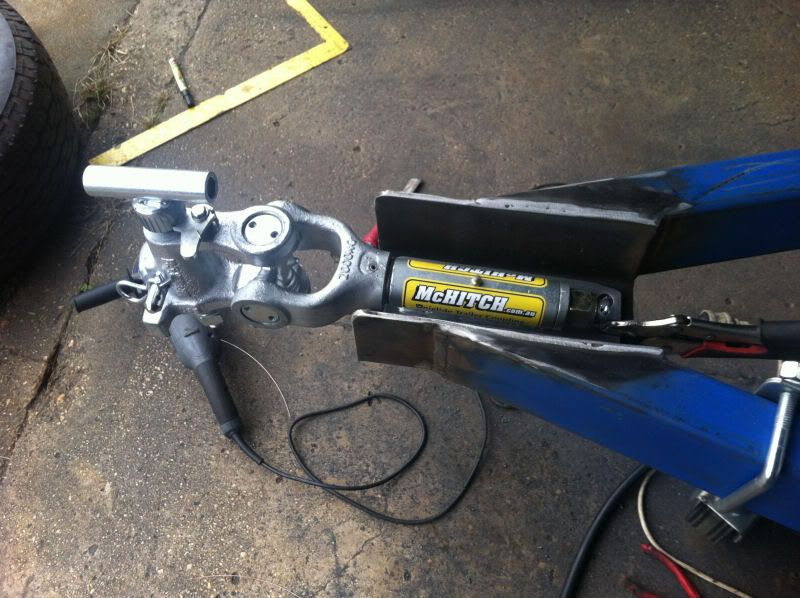
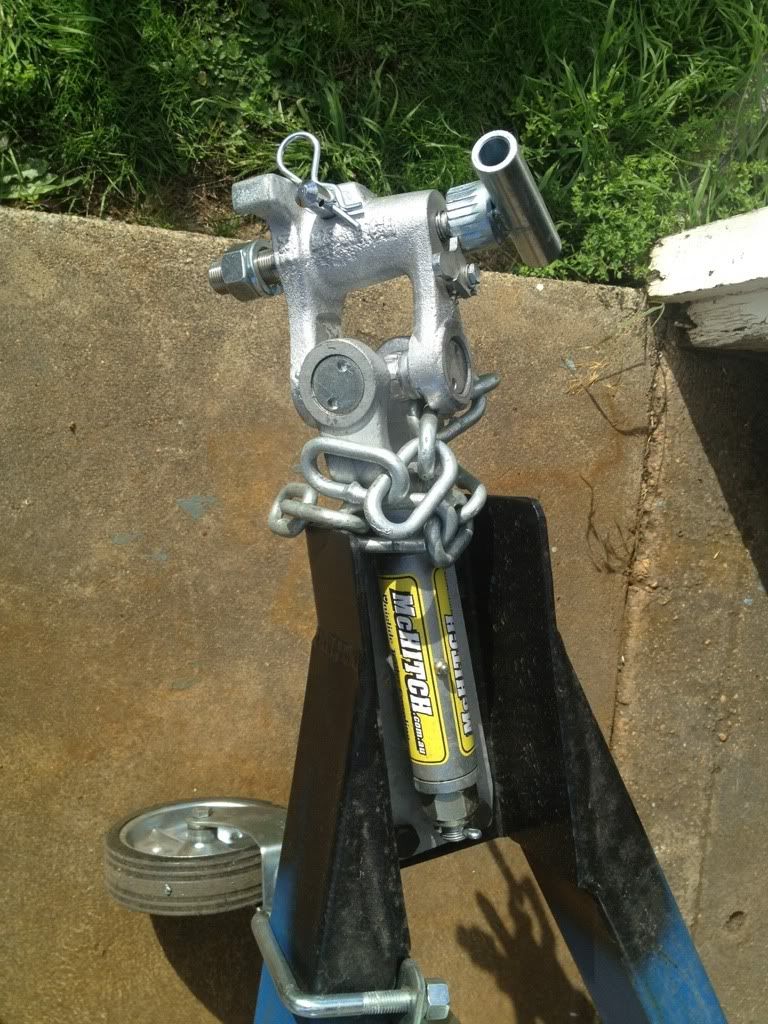
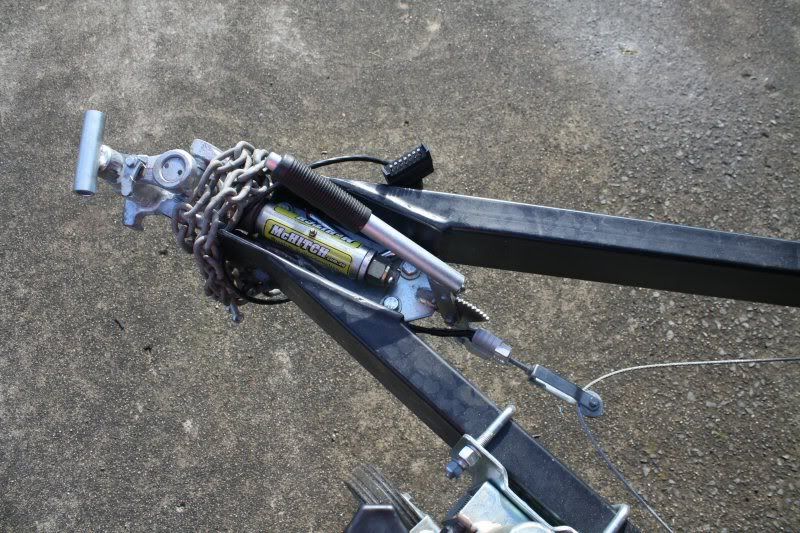
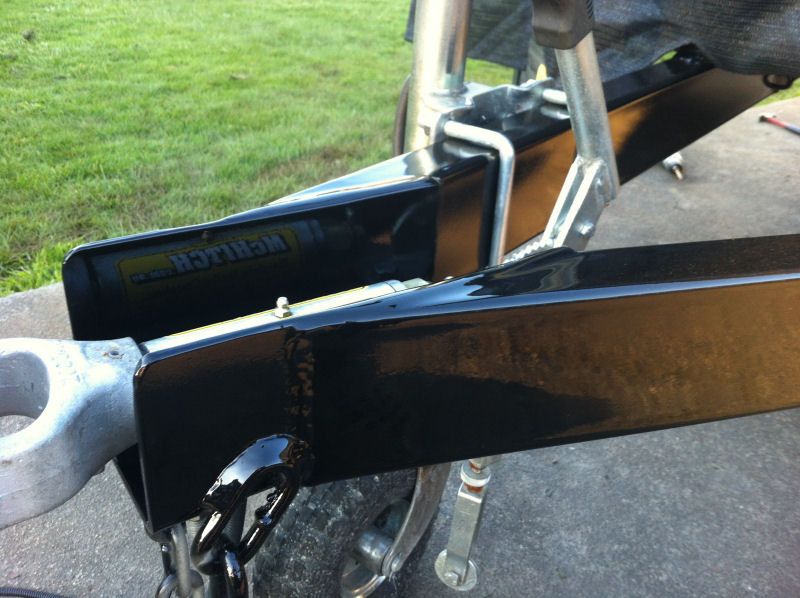
I used a Mchitch and his hand brake. I was going to use a poly block but the supplier told me they are not adr approved so Id have to use a standard ball hitch to rego it....go figure!
I also made my own tent base. I cut up the original Chinese base and used the steel for making some of the kitchen because it was very thin light steel, more suited to a light weight kitchen rather than a strong tent base.

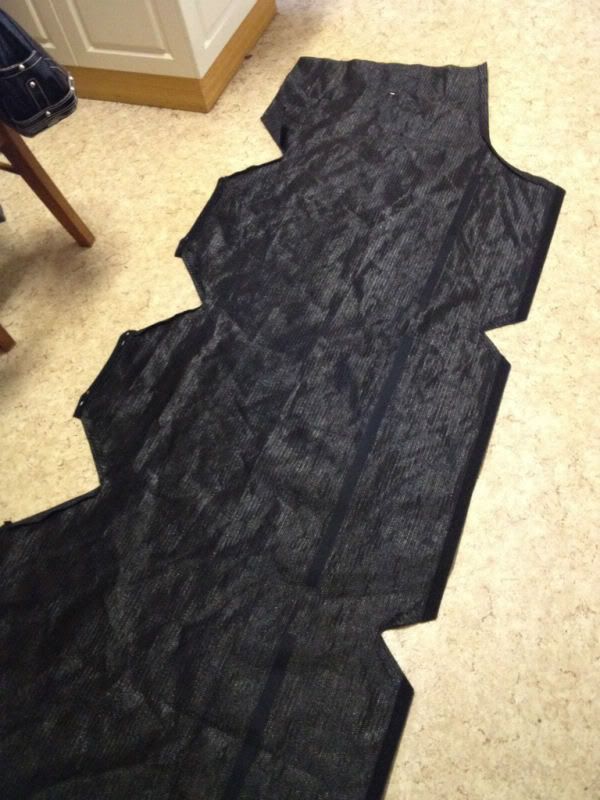
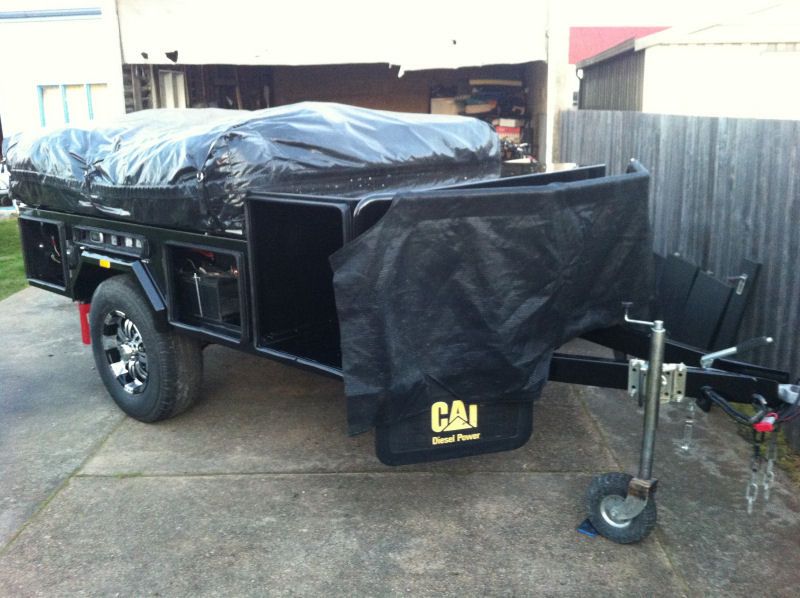
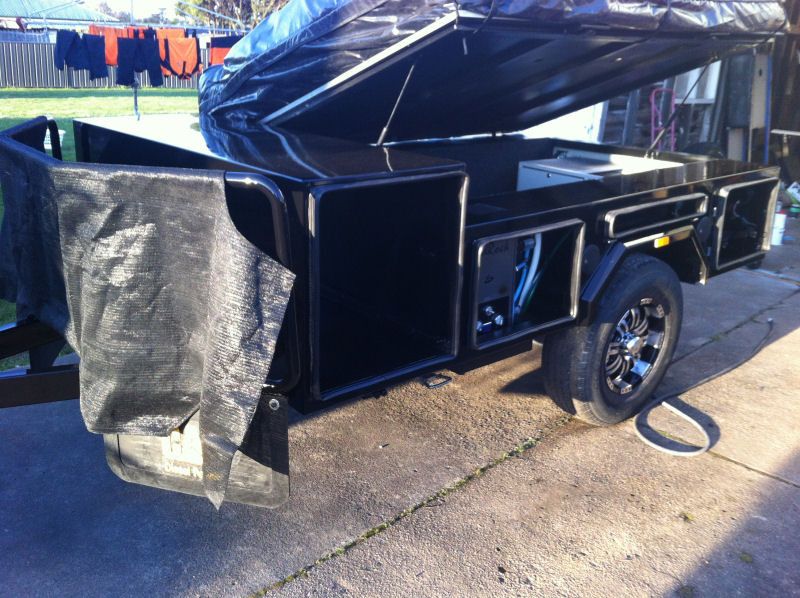
My wife made our stone guard cover using double shade cloth. She cut it out so it velcro's on but leaves the corners of the guard exposed (I didnt make mandrel bent corners to cover them LOL)

The camper has a 60ltr water tank at each end both with a filler each but feeding into the one pump. All my water tanks, pump, suspension components, accessories, brakes etc etc were all bought off huntsman products in Melbourne. Everything else I sourced off Ebay.
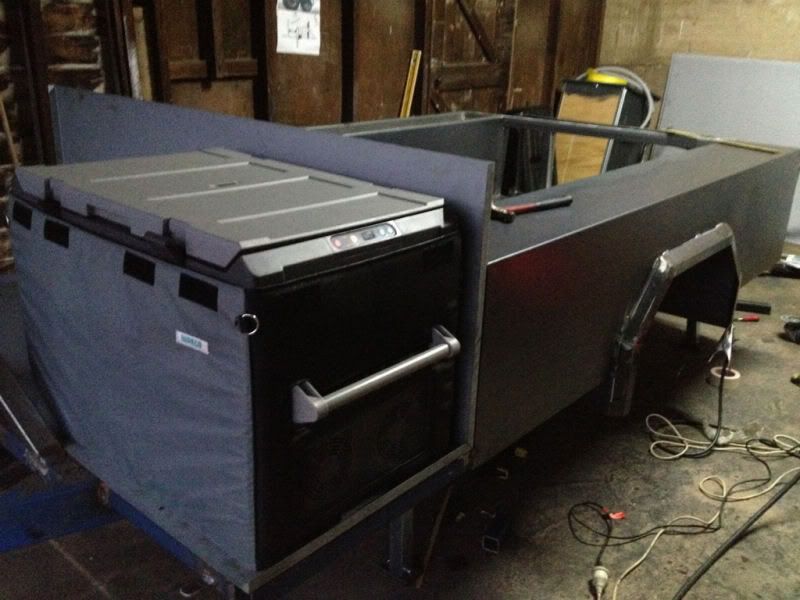
Ok now for all the fun stuff....time to start modding it!

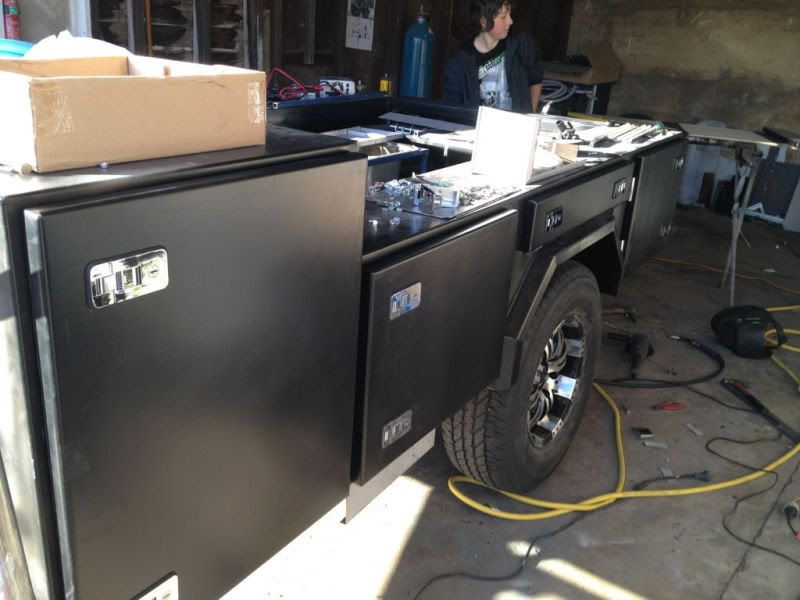
Keep in mind when I installed all this stuff I knew I would be stripping it all down again to paint it so a lot of what you see is not really in its proper place or clamped down correctly etc because we just wanted to give it all a trial run first before we committed to drilling too many holes and making too many brackets if you know what I mean. I have never done this before so it was a test first, commit later situation LOL
Fridge in its transport or over night sliding hidey hole
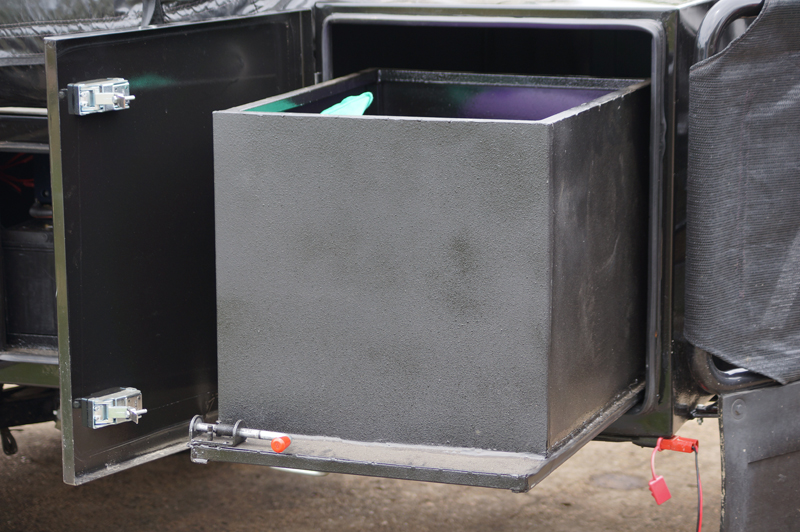
Very large storage box on opposite side of fridge. Also on its own slide. Great for large large longer term pantry items such as coke bottles etc amongst many other things.
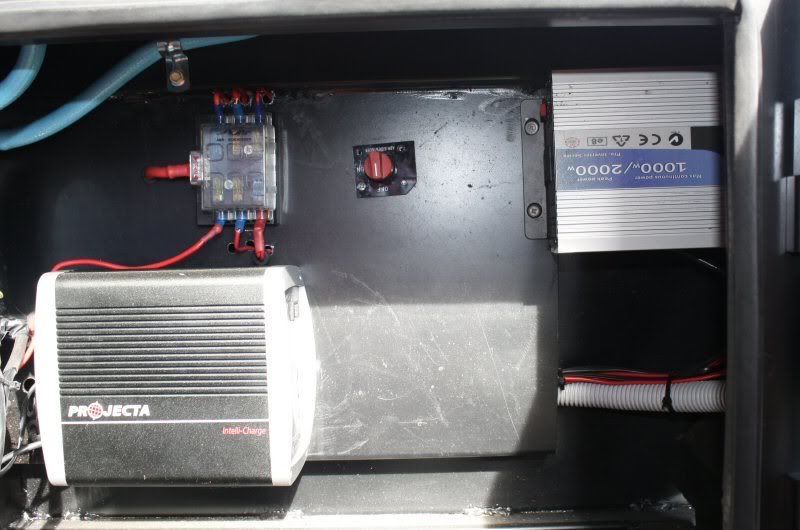
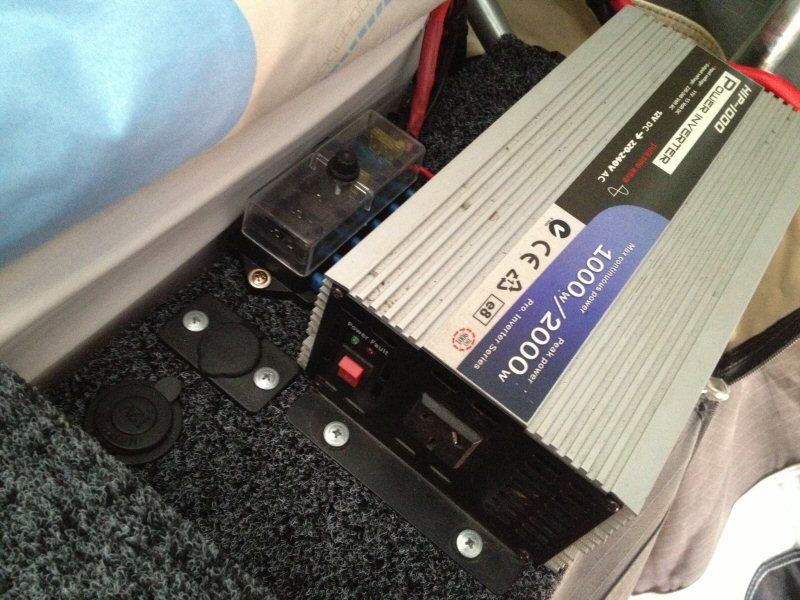
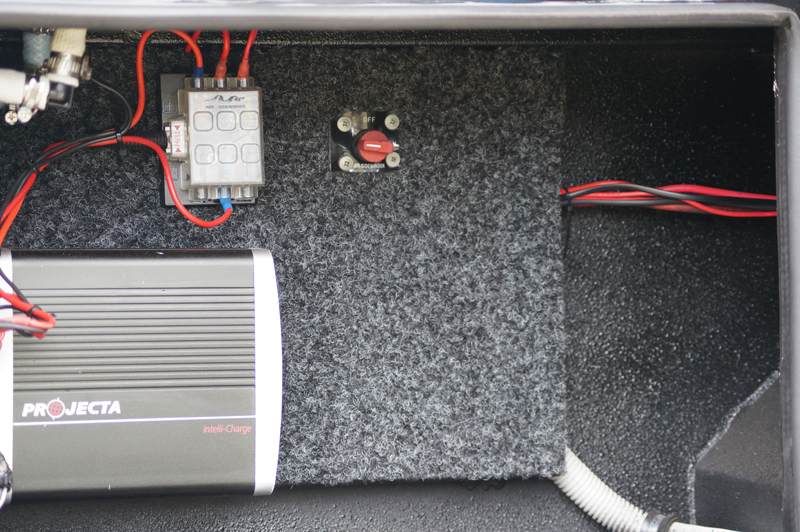
Battery area with only one battery at this stage. It also has circuit breakers from anderson plug at front of trailer and a circuit break for the battery charger. It also has a circuit breaker/isolator for the 1000w inverter. Where all this screws down is being replaced with a stainless sheet once the camper is painted.

This area houses the 1000w Inverter. It is a cheap ebay job I used to use in the 4wd. I hate it, it uses to much power on stand by but it runs the wifeys hair straitener so you know, happy wife, happy life
Also I have a 25amp projector charger hard wired to an external power inlet. I have experience with a larger 40amp projector charger in a van, so they are tried and proven for me. Also obviously the fuse box is there and also the main isolator to the fuse box. Once again the sheet all this is bolted to will be removed and stainless is being put in its place, hence no grommets or insulation around the 12v wiring
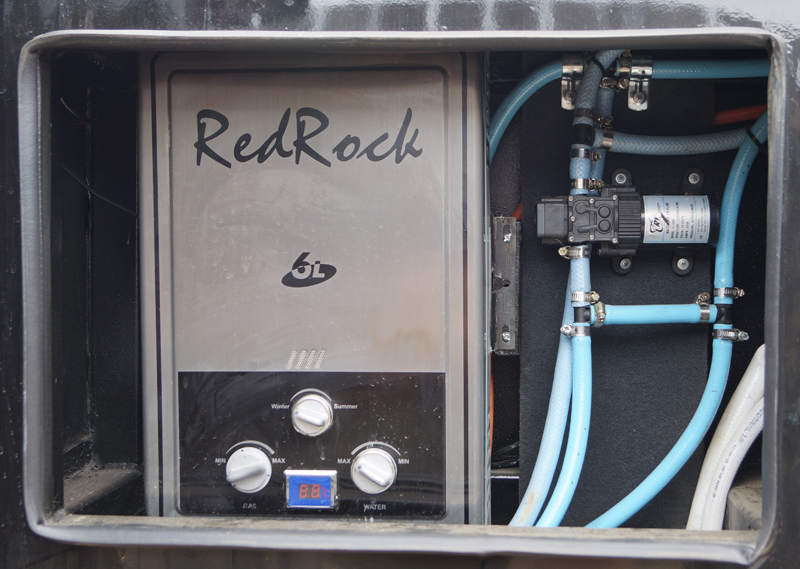
Instant hot water unit. Wow there is some plumbing going on there! Water pump and general messy looking hoses. Obviously Ill mount all them properly now that i know it all works. In fact it doesnt quite work as good as Id like but thats due to how I have those messy looking pipes kinking each other and running in loops when they dont need to etc!

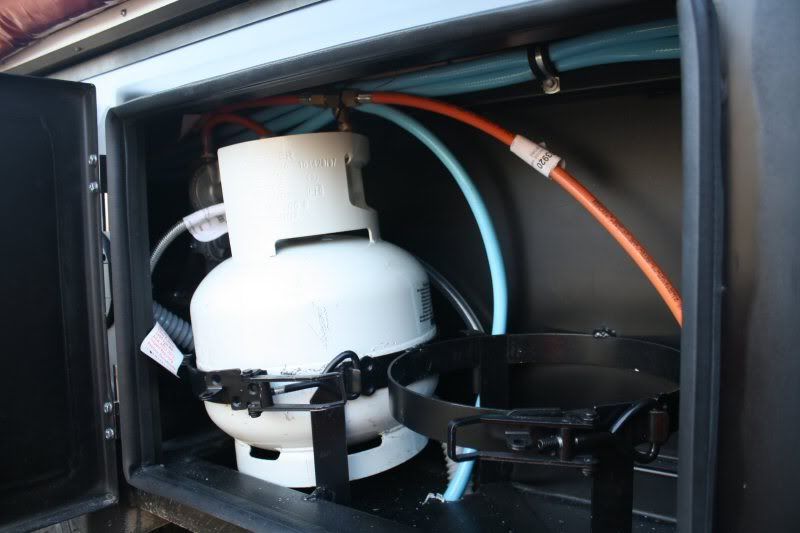
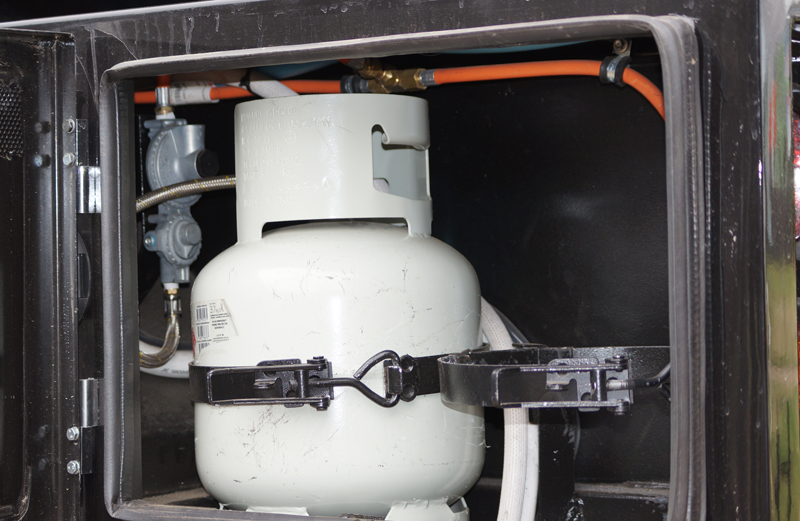
Self explanatory. I probably should have sat the bottle in there properly for the photo but sticking to the pipes running everywhere and not mounted properly theme it suits the pic.
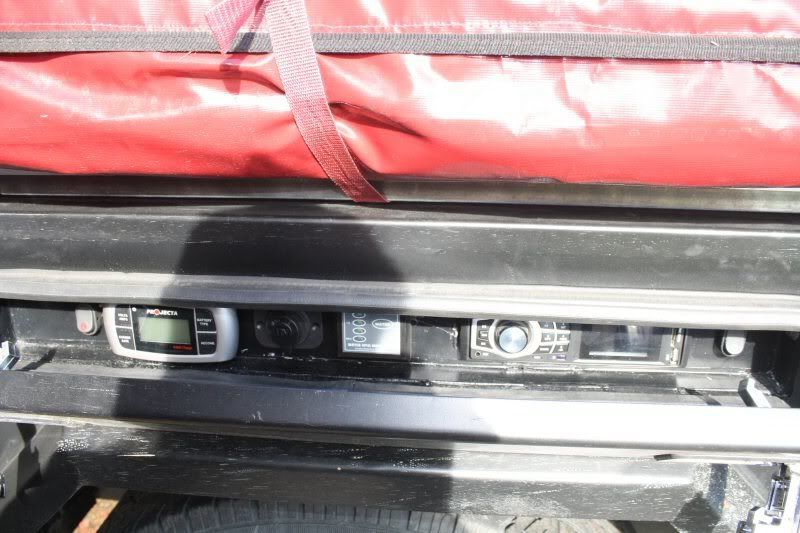
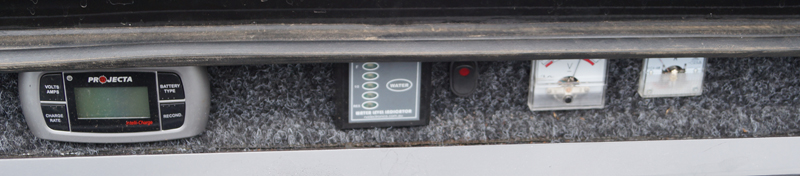
This is probably the only box we access once the tent is up. It has the pump isolation switch. Stereo switch. Charger remote thingy. Water tank gauge. And a spare 12v plug. I might sika some stainless in here too after I paint the trailer.
And finally a random pic of the hitch showing the handbrake etc
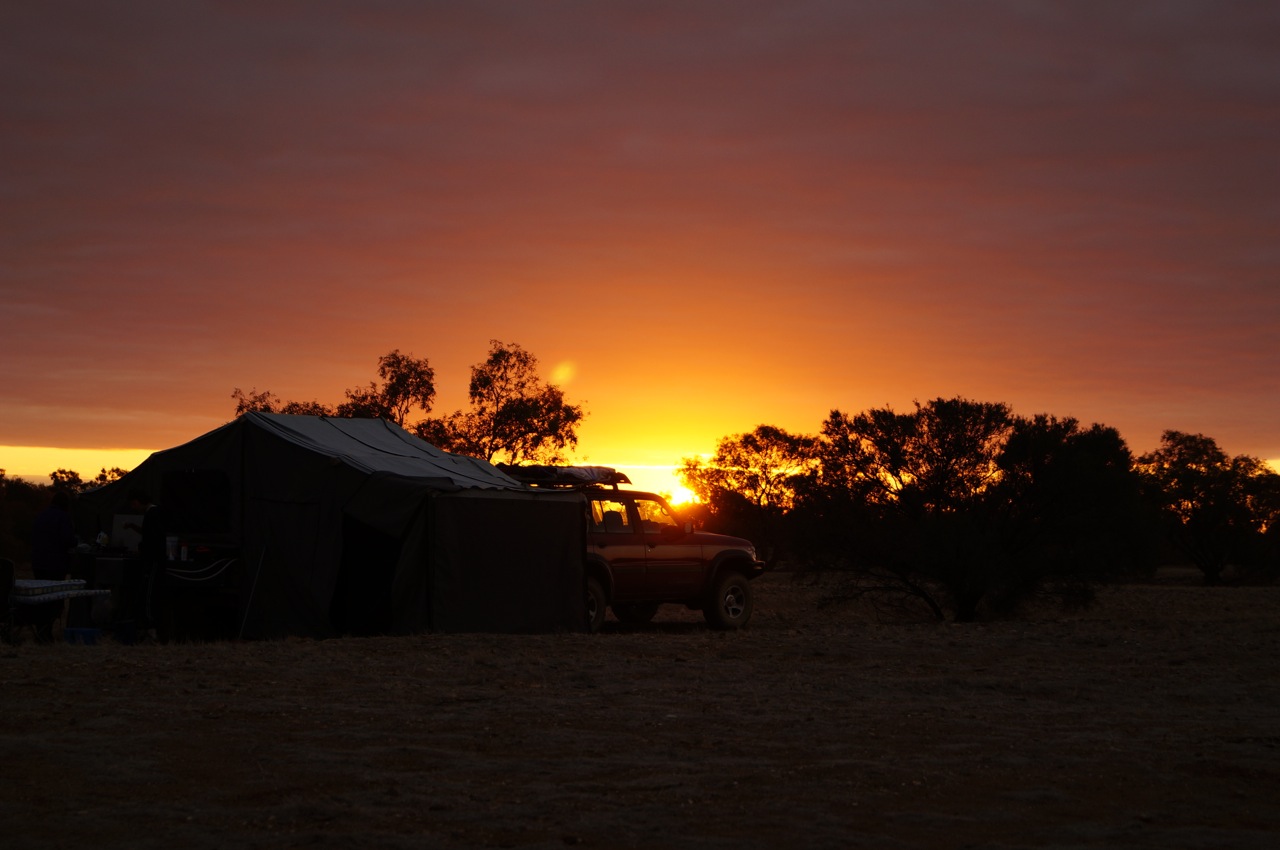
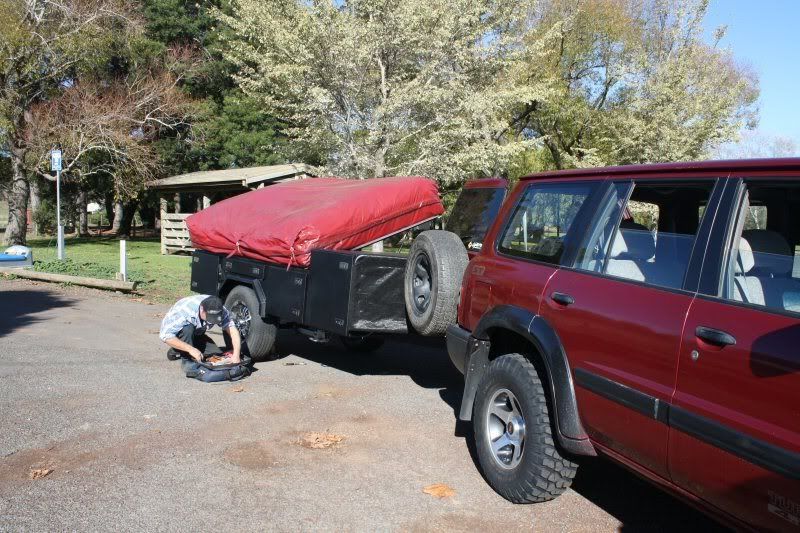
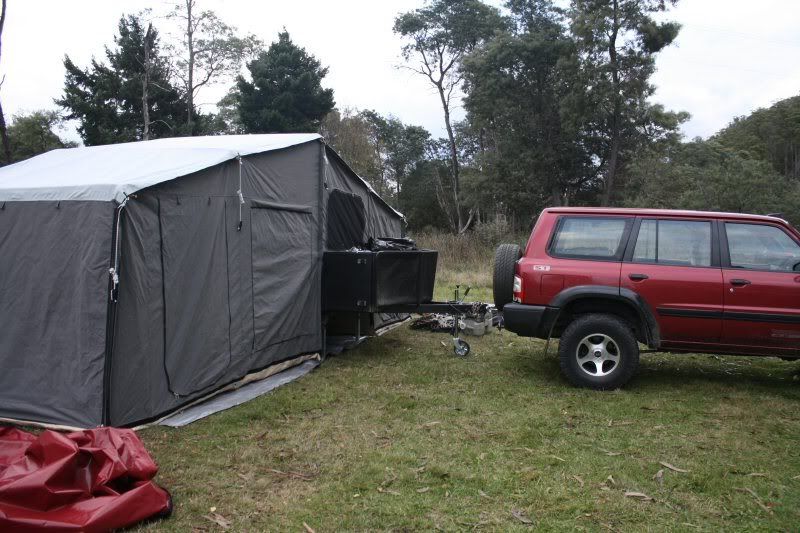
Our maiden voyage. Remember I took time off work to build this thing so I was determined to test it out before I had to go back to work so it was a mad rush the last few days to get everything in enough of a working order to try it all out.......as you can see in the pics!
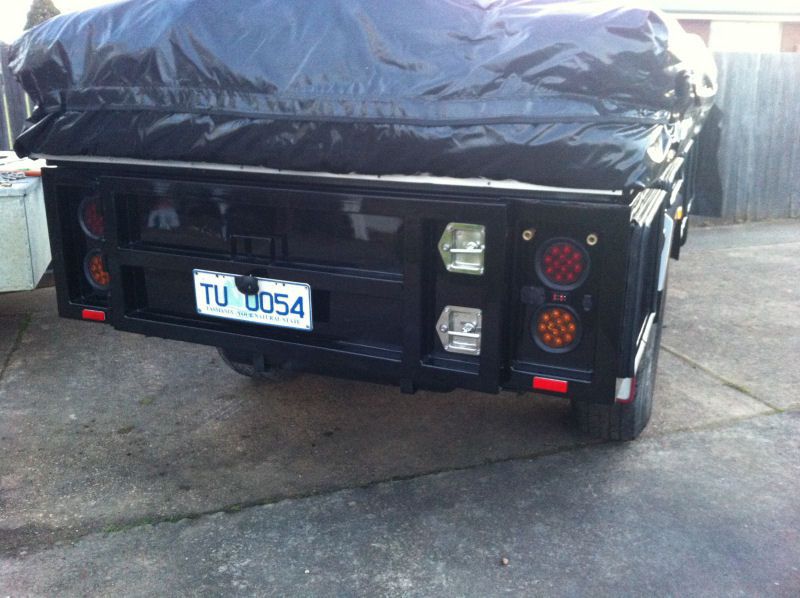
I was literally bolting the number plate on, greasing the wheel bearings and the wife was safety pinning her unfinished stone guard cover in place while we were packing it the morning we left.
So off we go having never towed it for even a test run around the block. I pulled over about 10 kays into the trip and checked the wheel bearings and everything was cold and as you would expect.
I pulled over about 40 kays into the trip for another inspection to find smoke coming from one of the wheels grrrrrrr
On closer inpsection one of the wheel bearings had collapsed! FFS I was 100% certain I didnt over tighten them and I am still baffled as to what went wrong. But to cut a long story short I quickly replaced it and after checking the rest off we went again. By the time we got home we had travelled another 200 kays without an issue so I am still baffled as to what I done wrong to cause that one bearing to collapse??
Anyway not to worry everything else went fantastic. Everything worked as expected and we are totally wrapped with our camper and cant wait to pull it apart and finish it off properly.
Here are some random pics from our maiden voyage.
Bogan flanny Dad and son starting to set up
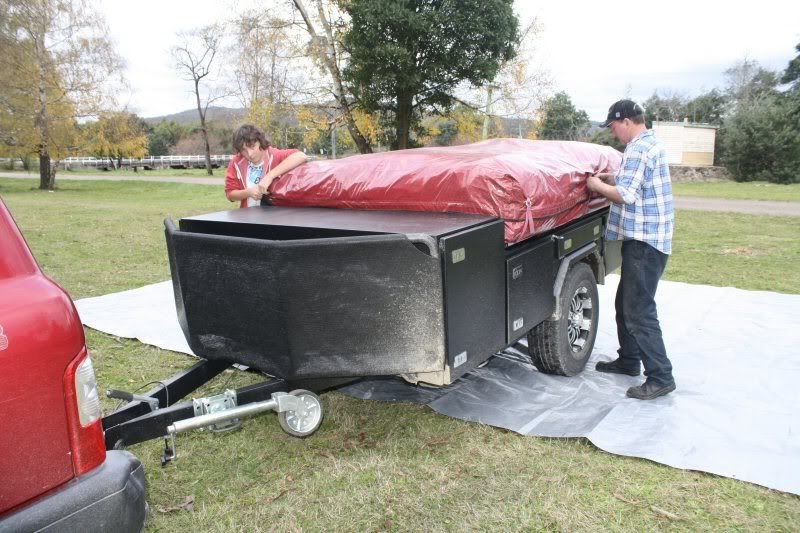
Open one side and pop him up

Open other side and pop him up and there is the fast overnight stay...5 minutes

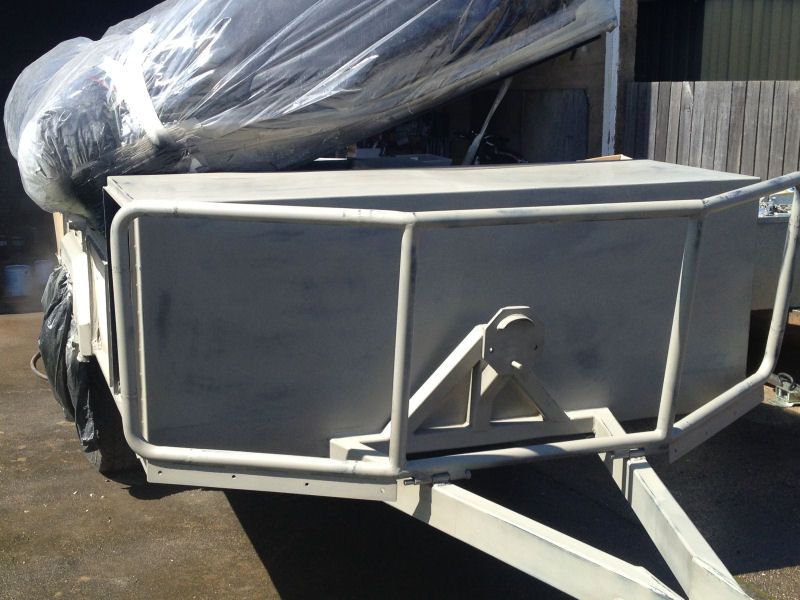
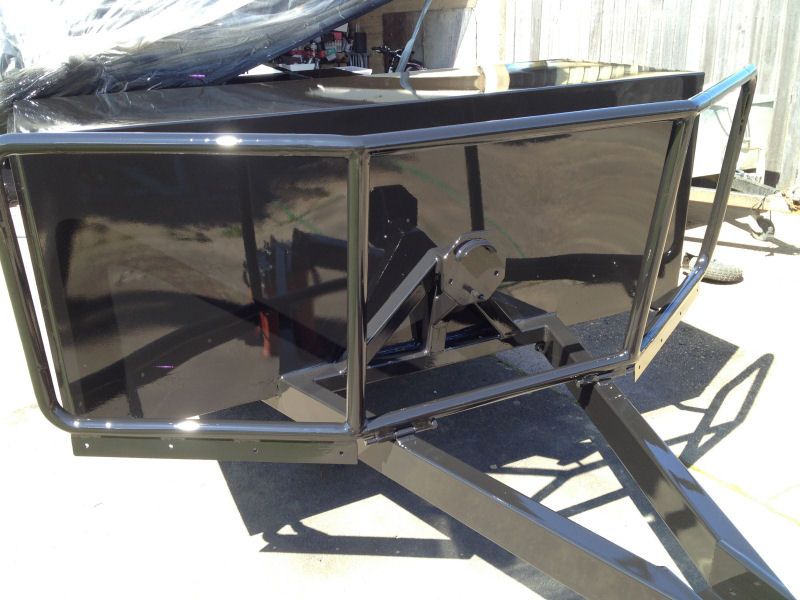
I finally have some paint on this thing!
I was going to be real fancy and paint it in a black pearl basecoat then clearcoat to give it a 'spray painter obviously owns this' look, but in theend captain sensible decided to paint it plain old black.
I used a quality poly urathane 2 pack to finish it in. Mainly for its excellant toughness or chip resistance and secondly because I wanted a nice finish.
I still have all the doors to paint. The doors are very much the main focal point as they pretty well dominate the sides of the camper so Ill take some photos with our good camera once they are on and its all finished.
In the mean time here are the latest phone pics I have.


Managed to get a few more pics this weekend while it was set up being used
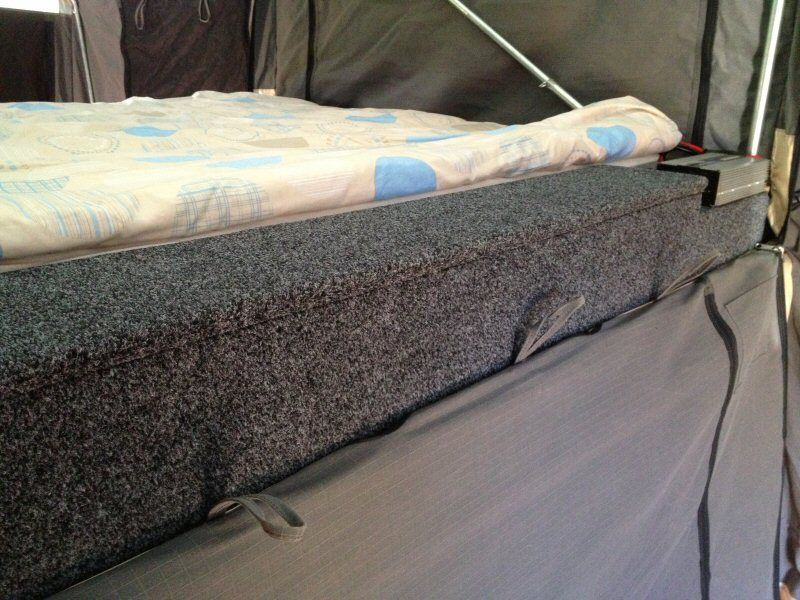
My solution to a pole holder. It also houses the Inverter, some 12v plugs and fuse box for the internal lighting etc.
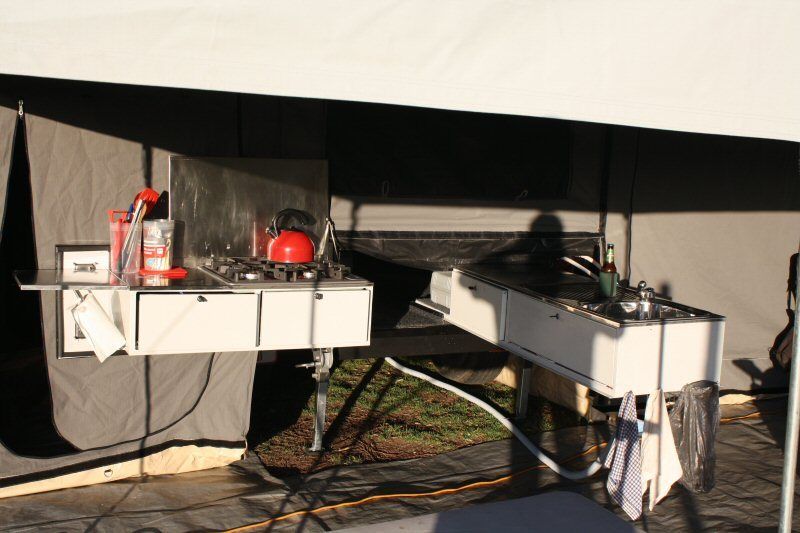
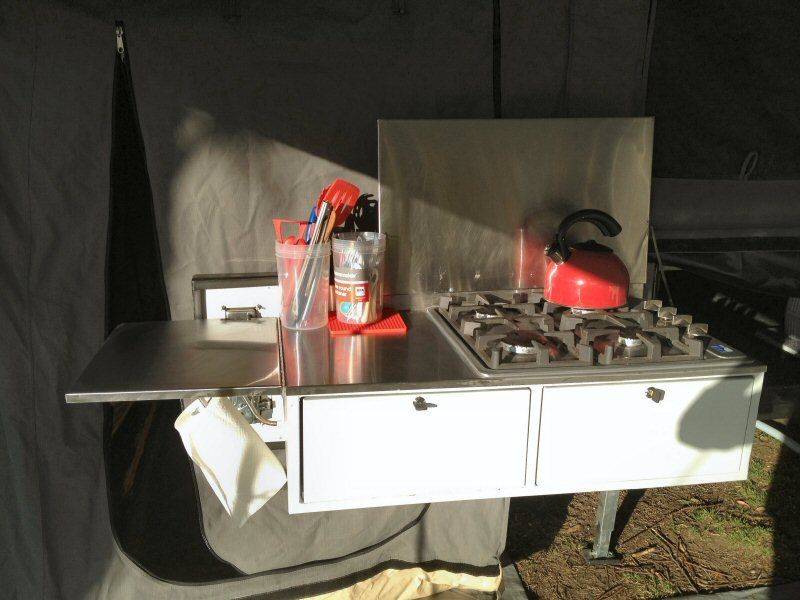
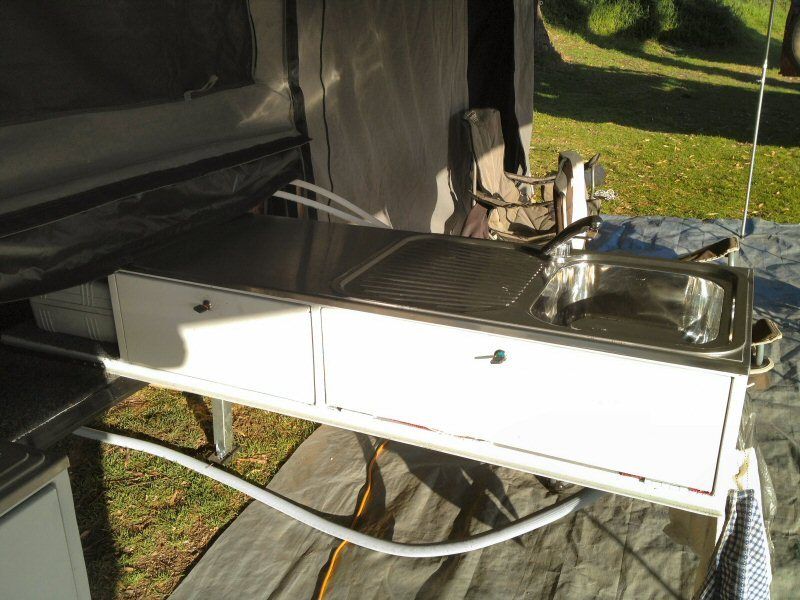
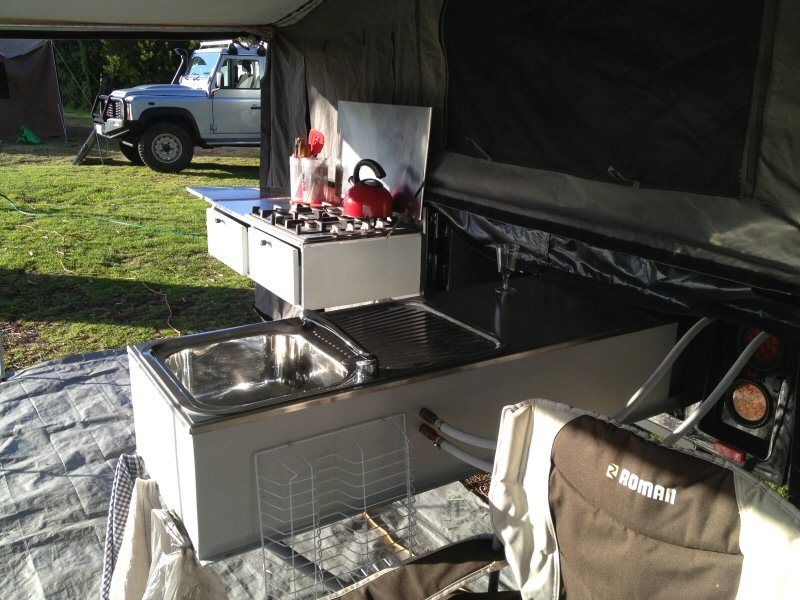
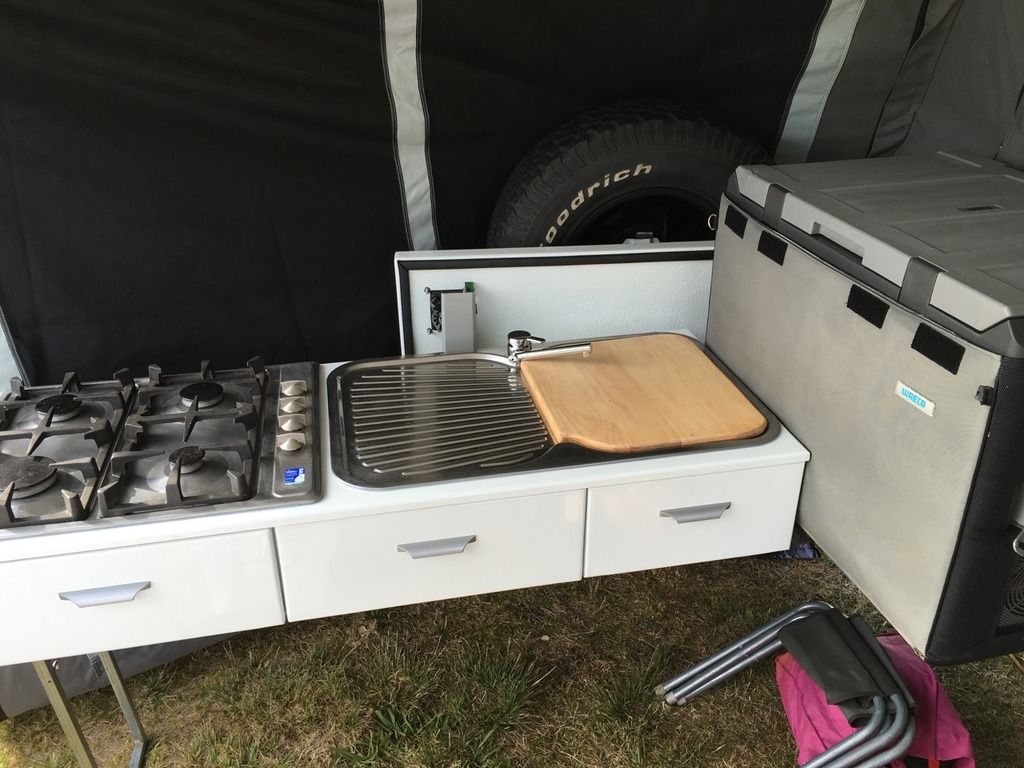
And finally some pics of the kitchen. I still need to tidy a few things up on it and give it a final coat of paint but this is essentially it. It houses everything we need permanently so its always ready to go.
Here are some more pics and a cut'n'paste from our blog for those that may be interested.
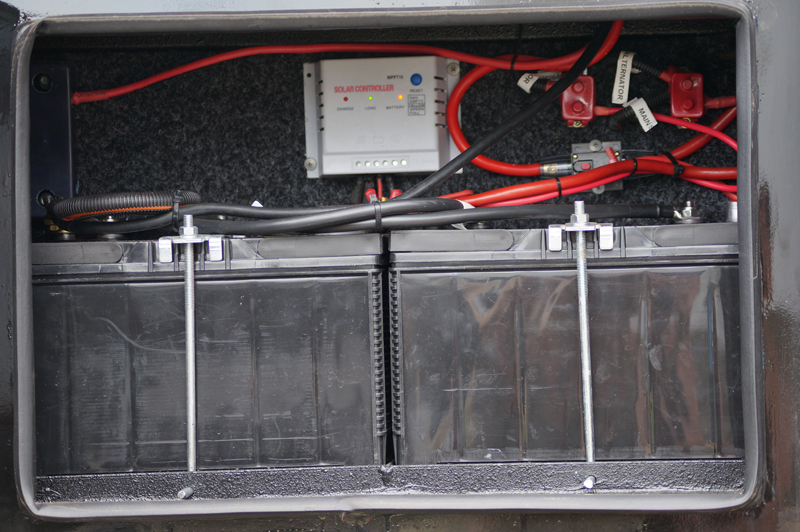
The vented Battery compartment house 2 x 10⁵ah deep cycle batteries, circuit breakers, solar controller, gauge shunt and inverter switch/breaker.
The other electrical compartment holds the 240v smart charger, isolation switch, fuse box and some water elbows.
Vented Gas compartment is pretty self explanatory it has the gas bottles and gas reg.
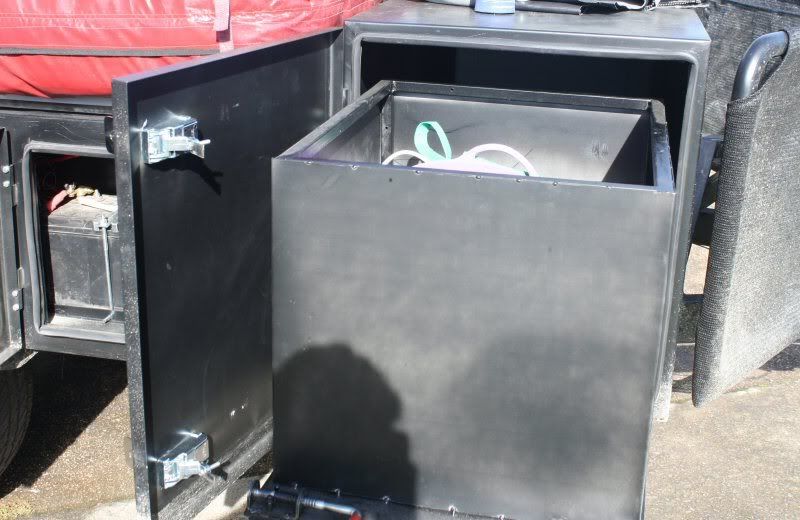
This is the large slide out pantry that takes up half the large front box. It generally holds things like leads, hoses, pegs, guy ropes and various larger pantry items such as spare drink bottles etc with plenty of room to spare.
This is the little control hatch that is easily accessible inside the tent and where I used to spend a lot of my time keeping an eye on everything when I first built the camper! It has the charger remote head unit which gives me all sorts of info when the charger is plugged in, a volt meter which obviously tells me the batteries volts at any given time, water pump isolation switch and an amp meter which allows me to see how may amps we are dragging from the battery when ever any power is being used.
Not really a hatch but it is an area that gets used a lot when the tent is up. It is the hot and cold water quick release fittings, a 12v cig style plug, a 12v merit style plug and a bank of small anderson style plugs that all our LED strip lights and portable stereo plug into.

This is the hot water unit and water pump area. It really is a work of art how it all works! It allows town water in, hot water out to a shower, water from the onboard tanks which have the ability to isolate one at a time and of course hot and cold water to the sink.
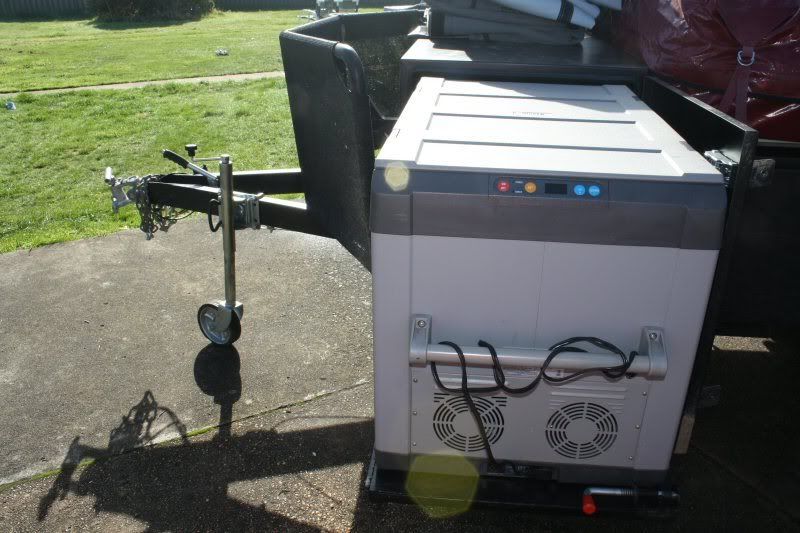
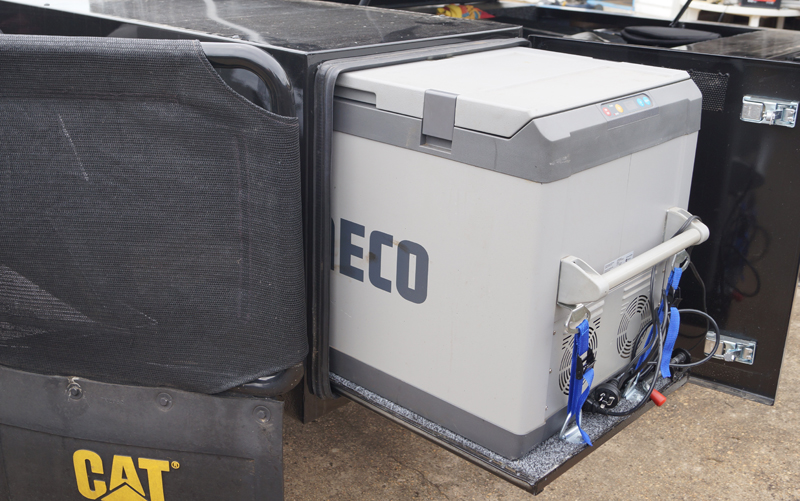
My favourite thing, the fridge slide compartment
The fridge stays in here unless we are staying for 2 or more days then we put it inside the tent in the kitchen. It is a 110 litre 12v or 240v fridge/freezer.
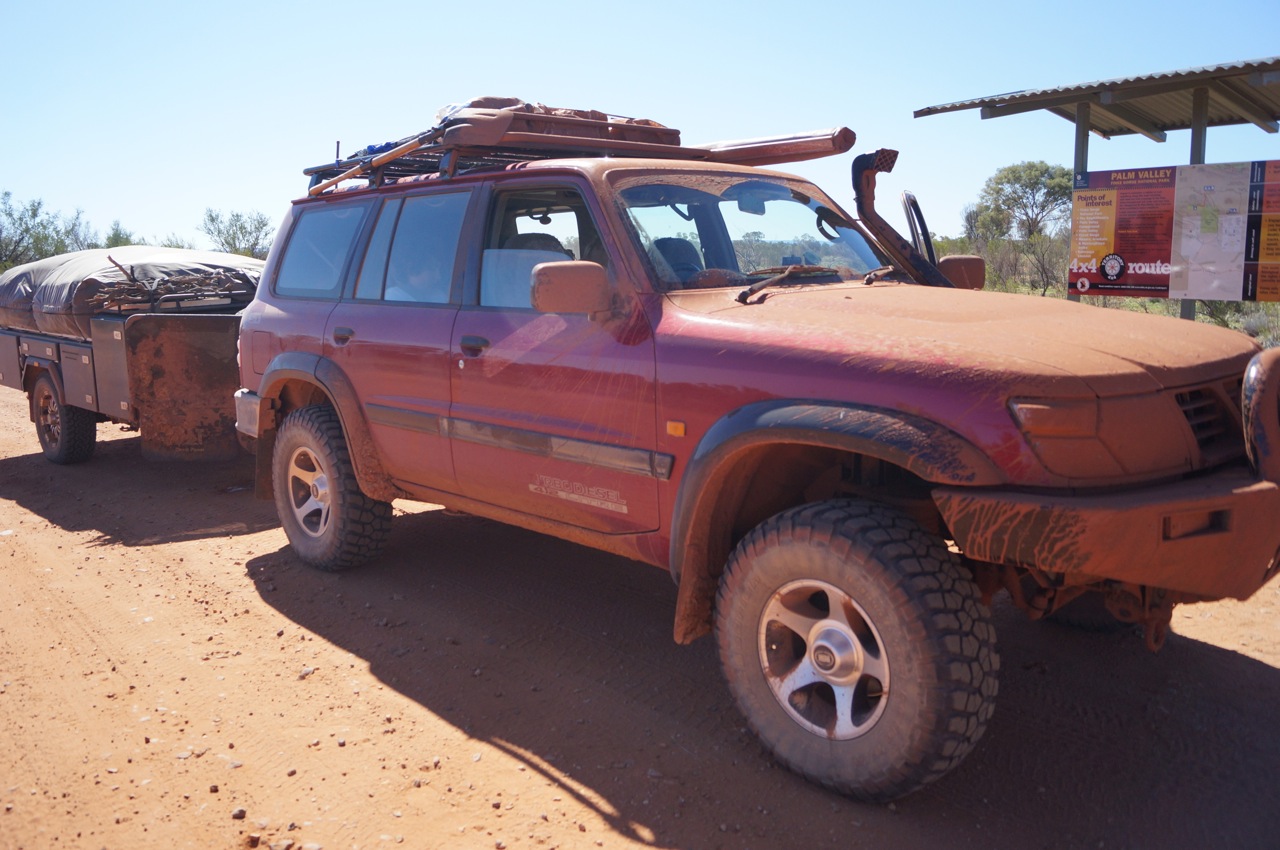
NOW FAST FORWARD TO THIS MONTH DECEMBER 2015 The camper had taken us on many trips away with the kids over the last 3 years or so including a nice big one to Darwin and back via Oodnadatta, Uluru, Litchfield, Kakadu, Binns track, Simpson etc etc so it had seen ALOT of rough outback roads.
We decided to freshen it up a bit change a few things.
With the kids growing up we didn't need such a large tent even though we loved our circus tent so we sold it and bought a new smaller version.
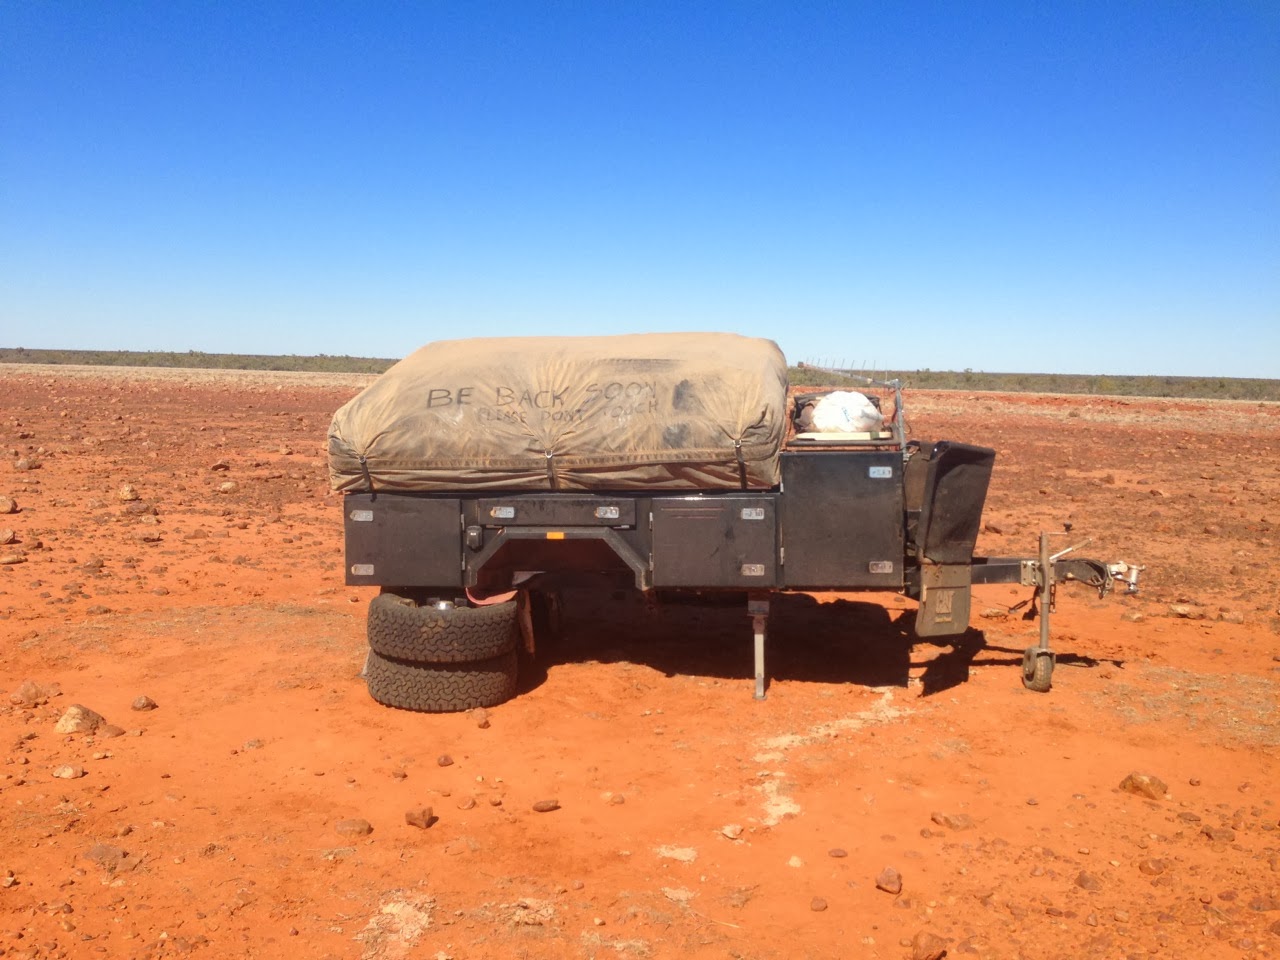
We also fitted a diesel heater which is unbelievable and got rid of our large heavy kitchen to make way for a smaller, lighter version that fits the tent better and also houses our fridge in a convenient location. We moved the spare wheel from the draw bar to the rear as well amongst a few other minor things that annoyed us a little.
We are really happy with it now, not that we weren't before but it is now extremely well sorted and so easy to use. Oh and we painted it Isuzu Splash White.........
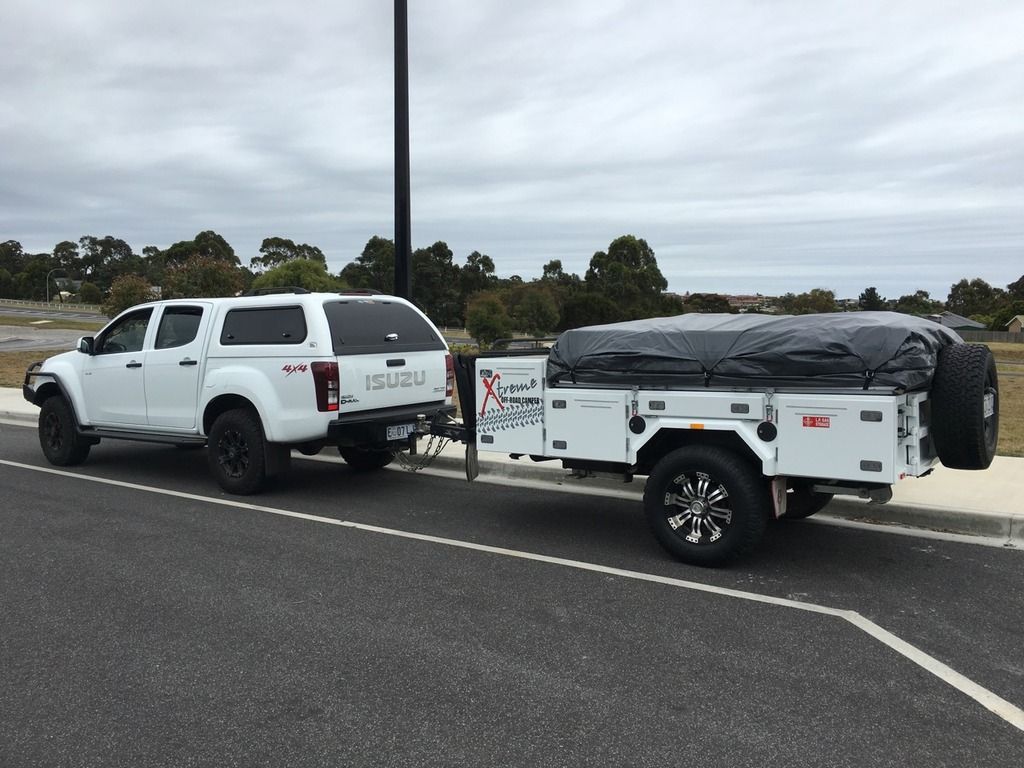
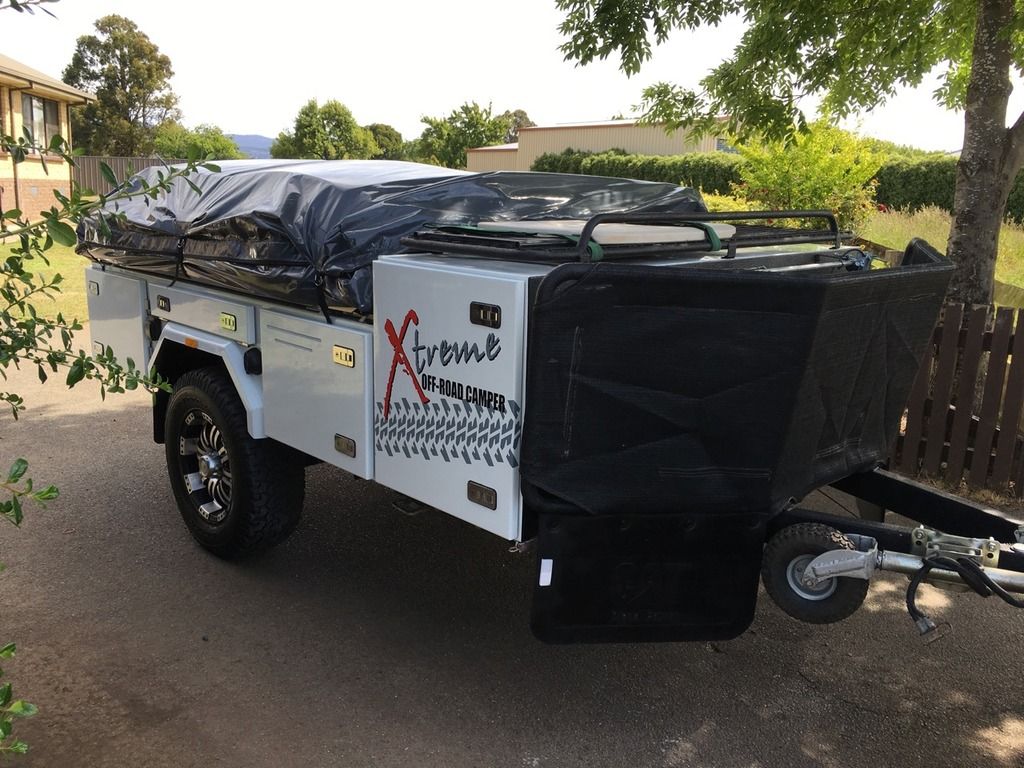
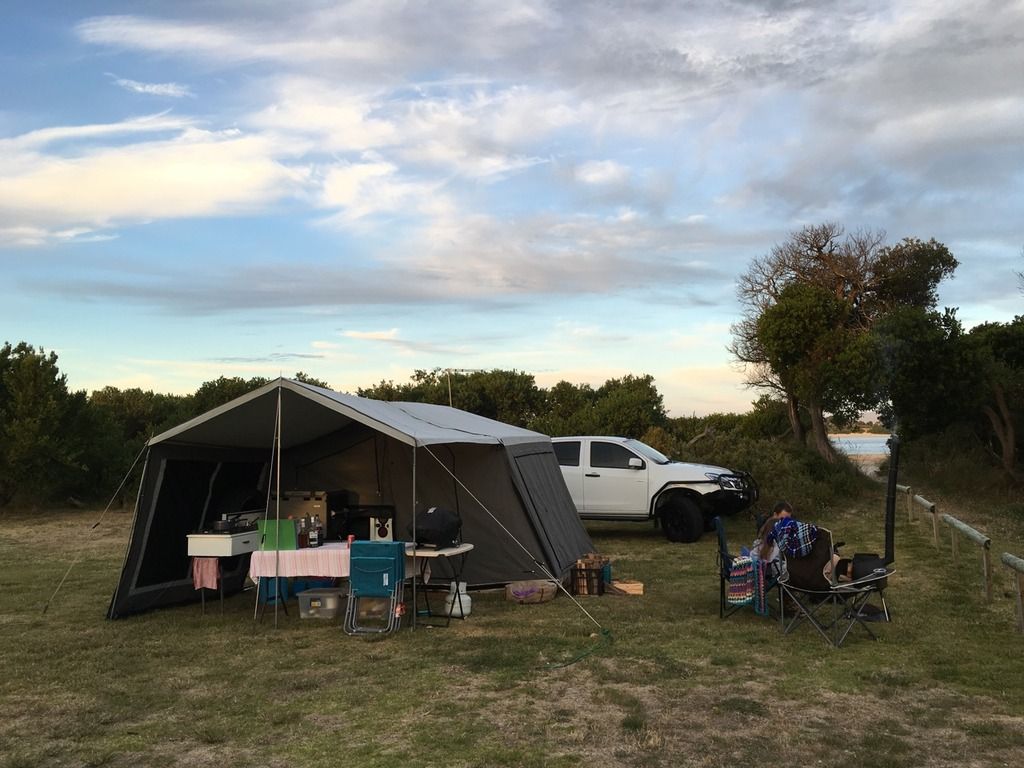
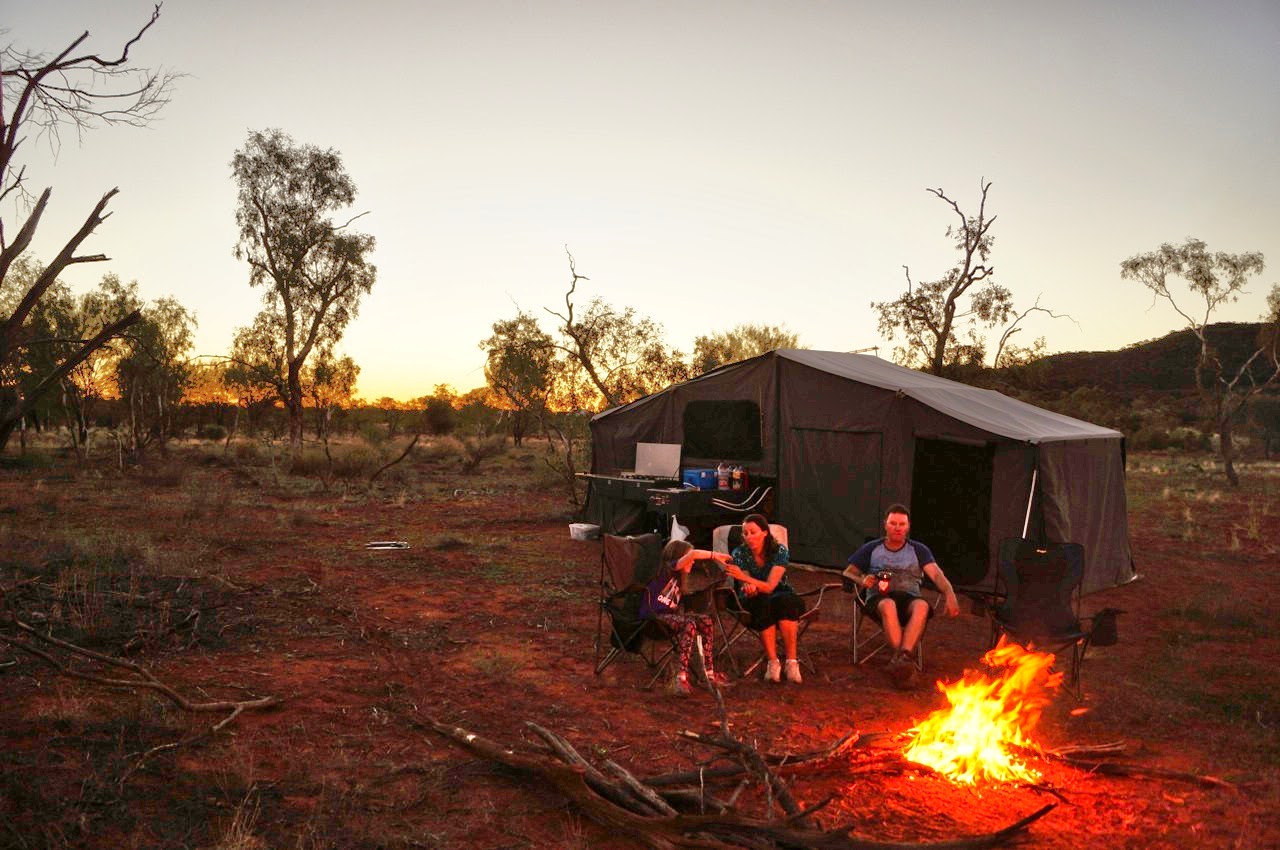
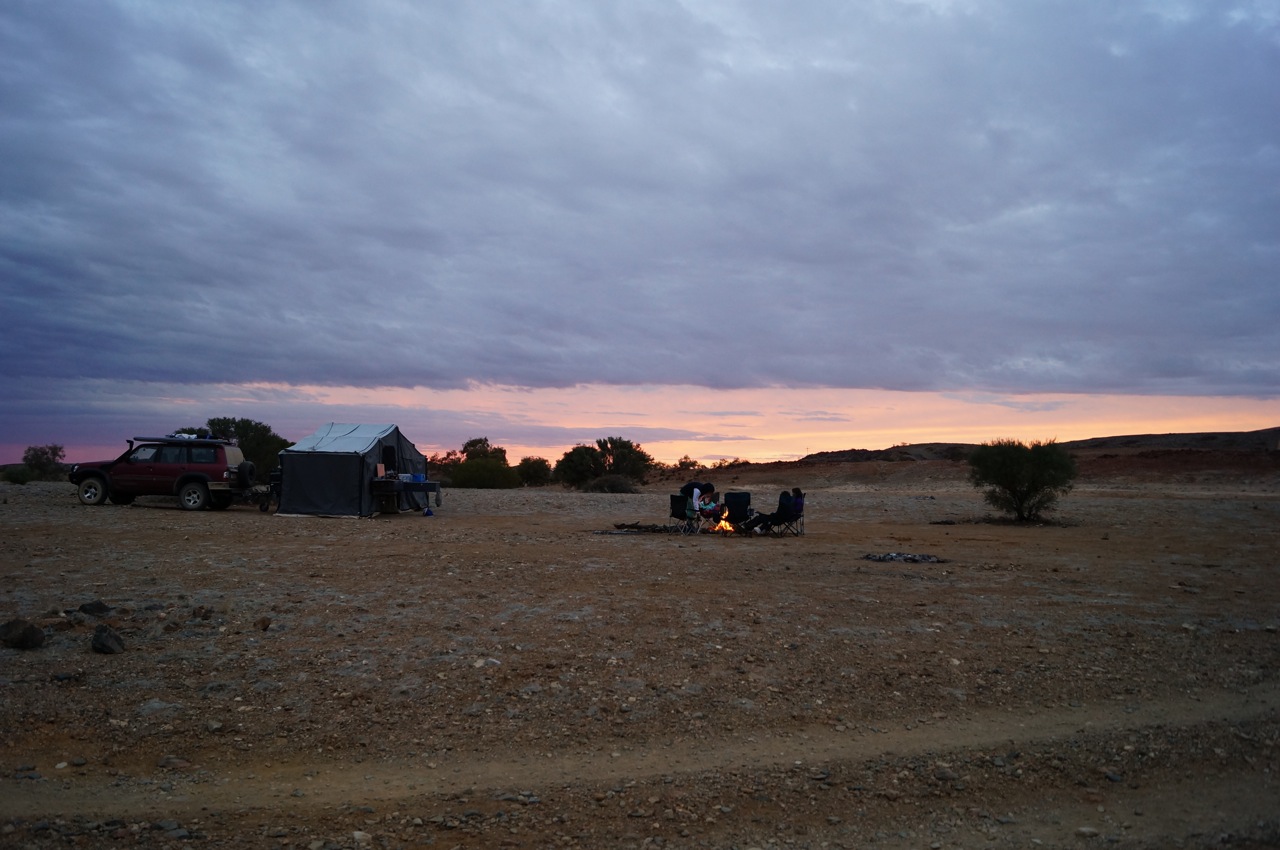
And just to finish this build off, here are a couple of more pics (not that we needed any more!) of it being used for its intended purpose